
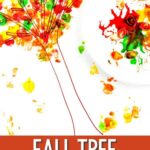
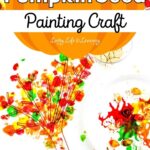
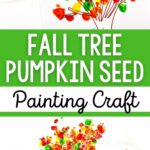
Fall Tree Pumpkin Seed Painting Craft


Fall is here! The leaves are changing colors, the air is getting cooler (at least here in the northern parts of the world!), and there’s that fresh smell in the air that is a clear sign that summer is over. It’s time to bring out the sweaters and jackets and put away the tank tops and flip-flops. So let’s celebrate fall with this adorable fall tree pumpkin seed painting craft!
See more Pumpkin Activities for Kids here if you are looking for more fall theme learning resources for your kids.
Pumpkins are everywhere right now. And while you’re carving up your pumpkin to make seasonal decorations or food, save a few of those seeds for this pumpkin seed painting fun. We’ll combine the bright colors of fall with stamping and finger painting to create this cute craft with your little one!
This post may contain affiliate links meaning I get commissions for purchases made through links in this post. Read my disclosure policy here.
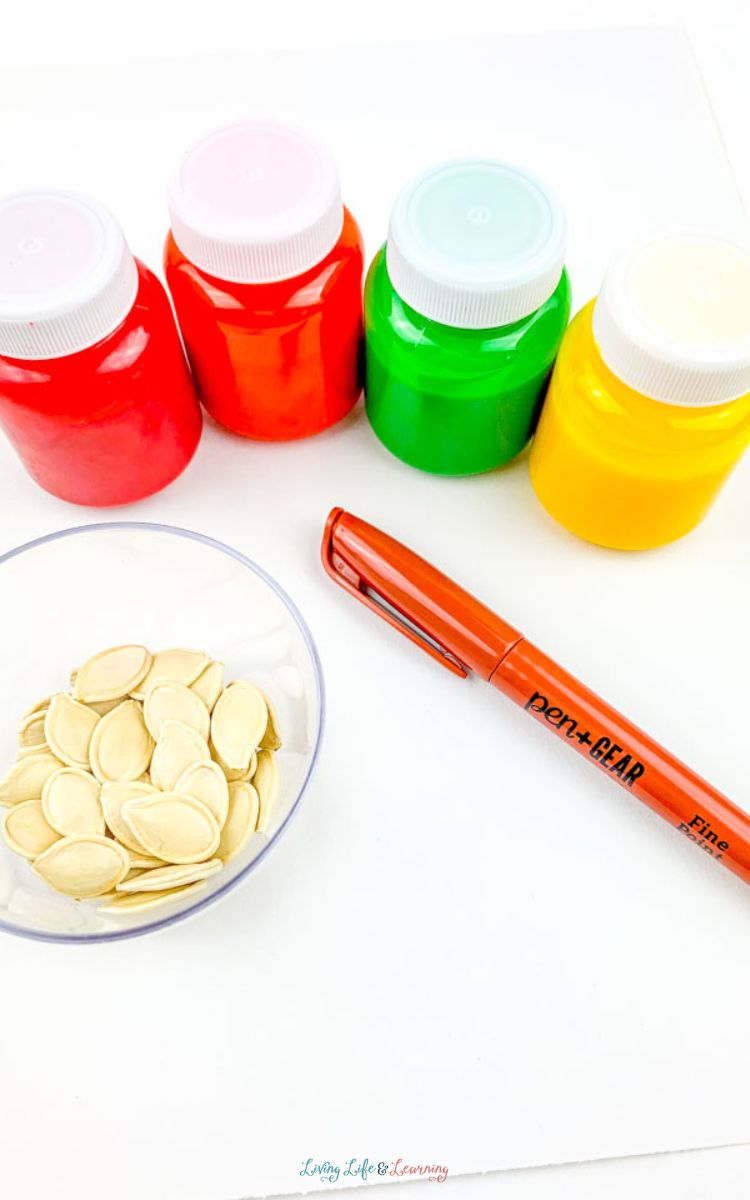
Materials for the Fall Tree Pumpkin Seed Painting Craft
These are the simple supplies your kids need for this fun and engaging fall tree pumpkin painting craftivity!
- Finger paint in fall colors – red, orange, yellow, brown, green
- Brown marker
- Pumpkin seeds, washed and dried (or straight from the store)
- White paper (construction paper holds the paint best!)
- Paper plate
- Paper towels or baby wipes
Recommended Fall Books for Kids
Stimulate your kid’s mind this fall while reading their favorite pumpkin and fall books from this list of recommended fall books for children.
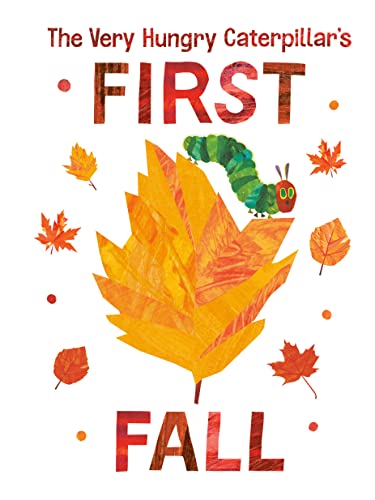
Pumpkin JackFletcher and the Falling Leaves: A Fall Book for KidsCorduroy’s Best Halloween Ever!A Very Big FallThe Very Hungry Caterpillar’s First Fall (The World of Eric Carle)It’s Pumpkin Day, Mouse! (If You Give…)


Fall Printable Activity Kits
Make learning about the fall season more fun and engaging with these enjoyable fall theme printables for kids.
Little Learners Print & Go Activity Kit: Pumpkin Life Cycle
This autumn theme worksheet pack has 81 amazing pages of learning fun, including full-color illustrations, tracing pages, and information cards about the fall season.
Little Learners Print & Go Activity Kit: Fall
Let your child explore the world of pre-literacy and pre-numeracy with these fun and engaging printables about the season of fall for Preschool.
Recommended Fall Activities for Kids
Have a variety of learning tools for your children this fall season! Check out these recommended fall activities that will surely help your kids understand more about the season.
I Spy Autumn Book For Kids Ages 2-5: Let’s Play I Spy Fall Book Seasonal Activity Book For PreschoolersHello Fall Coloring Book For Kids Ages 2-5: A Beautiful Autumn Theme Coloring Book for KidsWinlyn 27 Sets Fall Leaf Suncatchers OrnamentsFall Kids Sticker Glass Craft Kits Pumpkins Glass Made Easy24 Pieces Fall Scarecrow Head Craft Kits Assorted Scarecrow DIYWinlyn 7 Sets DIY Fall Pumpkin Painting Kits Assorted White Foam Pumpkins Craft Pumpkins to Paint for Kids


Celebrate Fall with Fall Tree Pumpkin Seed Painting
Of course for this craft, you’ll need a pumpkin — or at least its seeds. And while you could just buy a packet of seeds, it’s way more fun to buy the pumpkin and scoop it out! (Get our full list of supplies at the bottom.)
If you get your pumpkin seeds directly from the pumpkin, make sure you wash and dry them thoroughly before attempting this craft. While a little extra pumpkin might be delicious, it will make your craft a lot messier than it needs to be.
Want even more pumpkin fun? Try this Pumpkin Salt Painting.
You’ll also need paint and a marker, along with paper. We used the fall colors of red, orange, and yellow, along with a touch of green. Pour the paint onto a paper plate for easy access for little fingers.
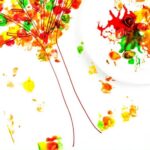
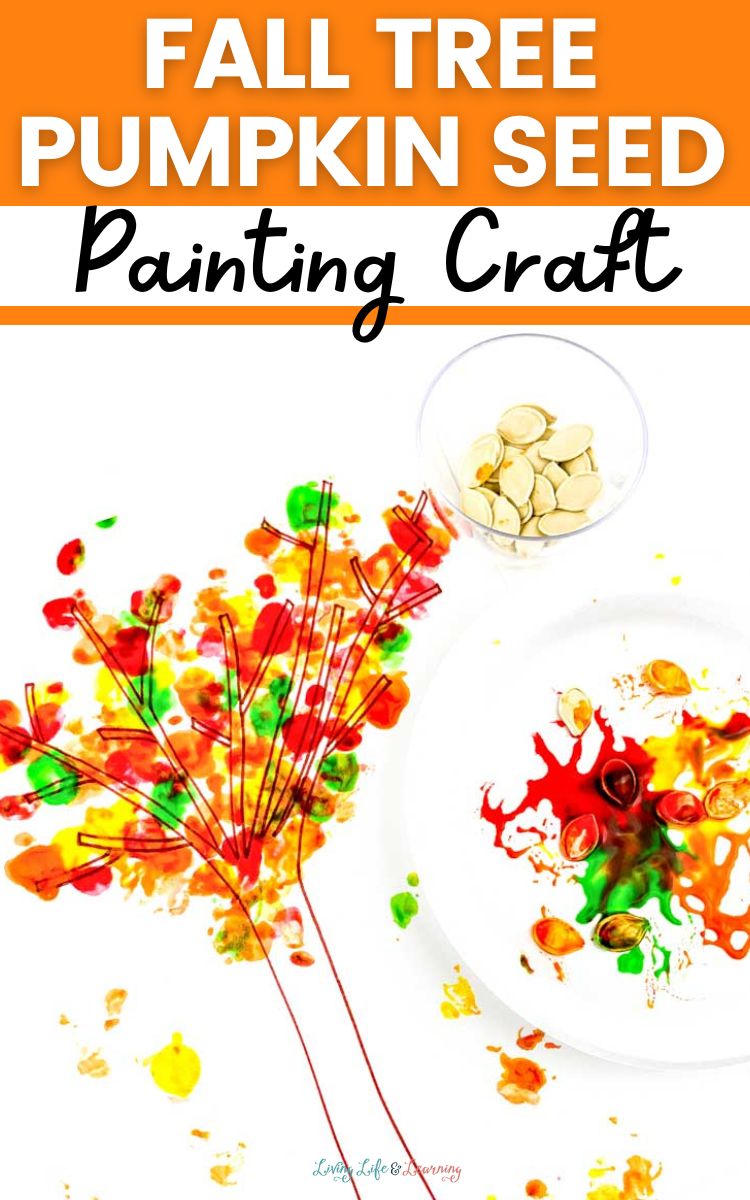
We started this fall tree pumpkin painting craft with a bare tree. We drew a tree trunk and bare branches on paper with a brown marker. You don’t have to draw an outline like we did. You could use a thicker marker and color in your tree if you like.
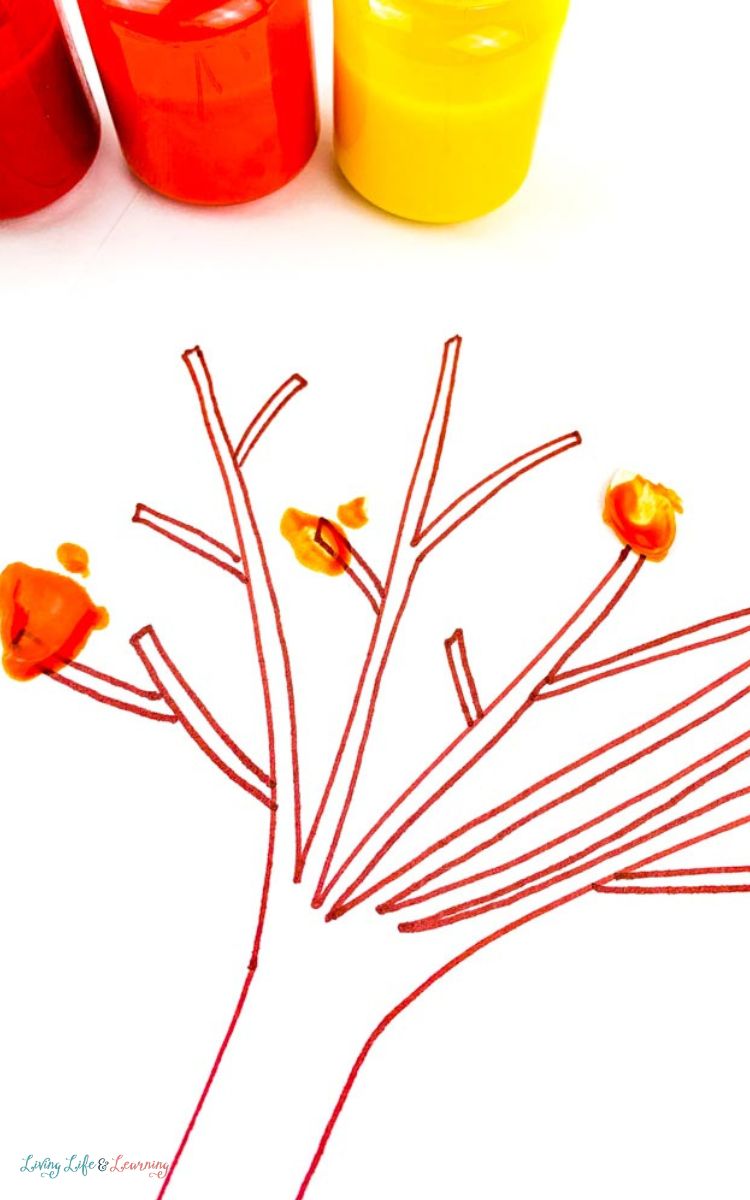
Then it was time for the most fun part. We took the seeds and dipped them into the paint, then used the seeds to make “leaf” shapes on the branches of the tree.
For best results, have some baby wipes or paper towels handy. Then you can wipe your child’s hands between colors. The colors will mix some but try to keep them separate while you’re stamping.
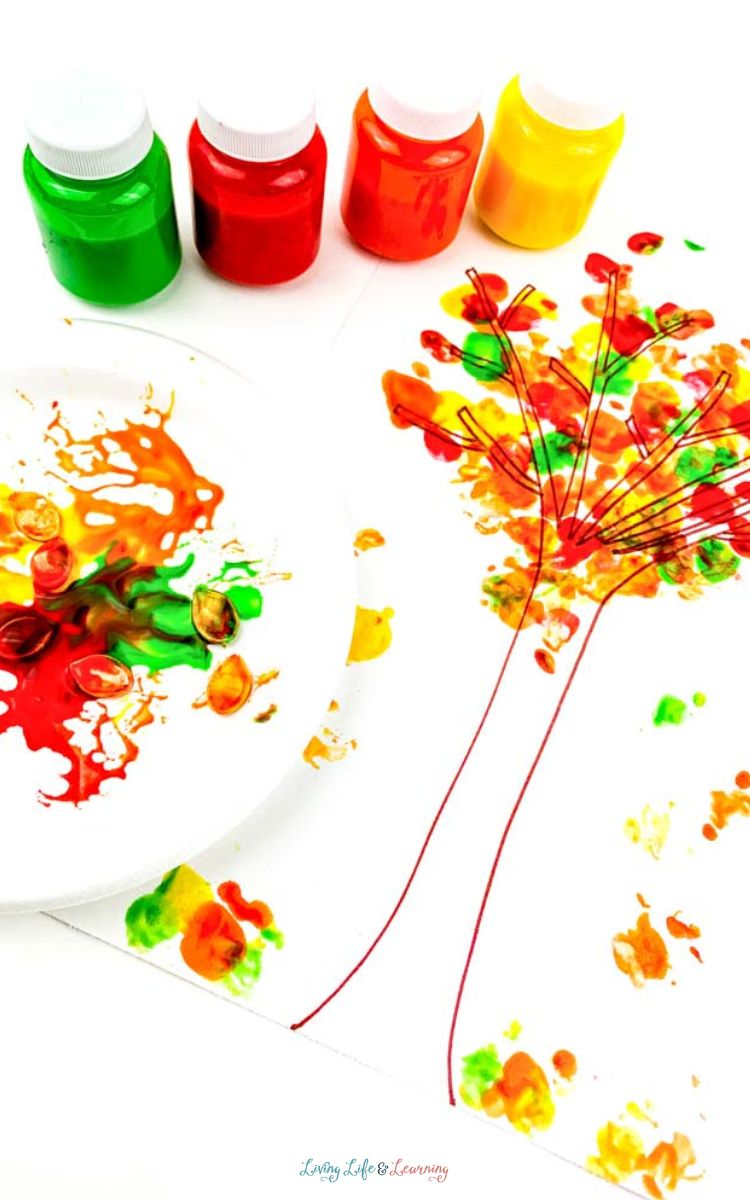
We kept stamping until the tree was completely covered. Then we added a few on the ground and a few more falling. After all, it’s a “fall” tree.
We had so much fun, we wanted to do more trees!

Fall Tree Pumpkin Seed Painting Craft
Equipment
- Crayola Washable Finger Paints
- Crayola Washable Markers – Brown
- Paper Plates
Materials
- Finger Paint Red, Orange, Yellow, Green and Brown
- Marker Brown
- Dried Pumpkin Seeds
- White Construction Paper
- Paper Plates
- Paper Towel or Baby Wipes
Instructions
- Start with your paper and draw a tree with bare branches. You can draw just the outline or color it in.
- Pour a small amount of each color of paint on your paper plate, spaced out.
- Have your child place one pumpkin seed in each color.
- Help them pick up a seed and use it to “stamp” leaf shapes on the tree. Use one color at a time.
- Between colors, wipe your child’s fingers with the paper towel or baby wipes. This will help minimize color mixing.
- Continue until you’ve used all the colors and the tree is covered as much as your child wants it to be.
- Add “leaves” as if they are falling to the ground, or leaf shapes on the
bottom of your paper under the tree, as if they were on the ground. - Set aside to dry.
- Repeat! (If your kids want to…)
Do you want a low-prep activity for your pumpkin life cycle lesson? Try these pumpkin life cycle coloring pages for a fun and educational way to learn about pumpkins.
More Pumpkin Activities
Pumpkin Games for Preschoolers
Pumpkin Books for Preschoolers
Pumpkin Kindergarten Activities
Fizzy Pumpkin Science Experiment
Pumpkin Activities for Elementary Students
Pumpkin Science Activities for Preschoolers
Pom Pom Painted Pumpkin Patch Craft by Glued to My Crafts
Easy Painted Pumpkins by Aubree Originals

Hi, I’m Monique Boutsiv! I’ve been homeschooling for 18 years and have four children ranging from toddler to adult. I create science activities, educational printables and homeschool resources for preschool through elementary-aged children.
Today, Living Life and Learning includes more than 2,500 printable activities and educational resources to help parents and teachers spend less time planning and more time learning.
Follow along for new printable activities