
Nail Polish Pumpkin Craft

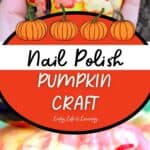
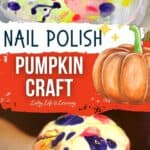

I’ll share how we made this easy nail polish pumpkin craft for kids. You and your kids will love it because pumpkin crafts are always fun in the Fall. There are many great and creative ideas out there, but I was looking to create the easiest and most colorful one, as well as a craft that isn’t too messy.
>> See more Pumpkin Activities for Kids
The best part about this craft is that it’s excellent for a no-carve pumpkin activity. This means that the kids don’t have to worry about cutting up a pumpkin at all, and neither do you. You’ll love being able to let the kids be as creative as they want with their pumpkins, while you can sit back and not worry about using any sharp objects at all.

This post may contain affiliate links meaning I get commissions for purchases made through links in this post. Read my disclosure policy here.
Making Learning About Pumpkins Fun
When we did this activity, I noticed it wasn’t just about the craft. It turned into a chance to learn more about pumpkins in a way that felt natural and engaging. Kids are always curious, and this simple project provided an opportunity for conversation and learning.
Here are some ideas to make pumpkin learning fun:
- Pumpkin Facts Hunt: Share interesting pumpkin facts as you work. I remember my kids loved hearing about how pumpkins are part of the squash family and that they come in so many colors, not just orange.
- Pumpkin Stories: Encourage kids to create a short story about their pumpkin. My teens enjoyed making up silly adventures for their decorated pumpkins, which gave us plenty of laughs.
- Pumpkin Comparisons: Bring in different types of pumpkins or photos of them. Comparing shapes, sizes, and colors sparked thoughtful observations and got everyone talking.
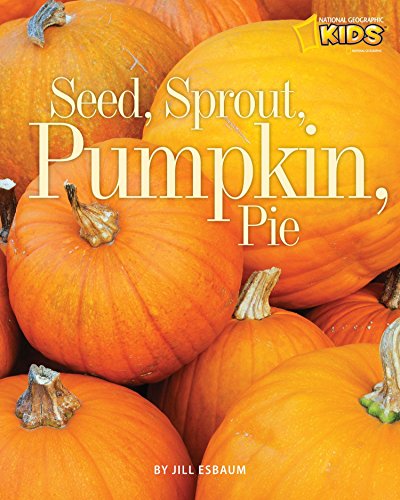
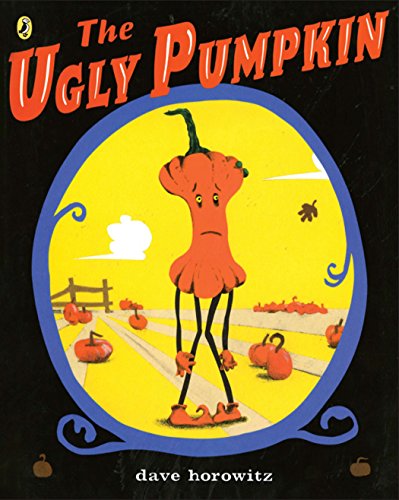
Recommended Pumpkin Books
Are you in need of some pumpkin books that kids will love to read during your homeschool pumpkin lesson? These are my book recommendations:
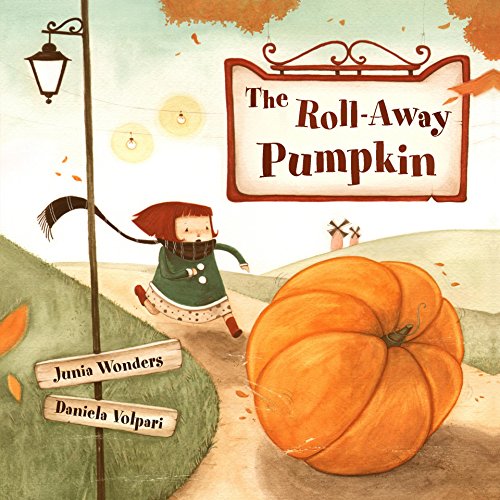
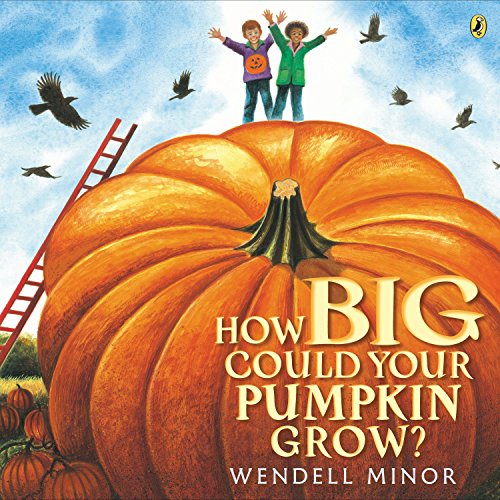
Too Many PumpkinsSeed, Sprout, Pumpkin, Pie (Picture the Seasons)The Ugly PumpkinThe Roll-Away Pumpkin: A Wonderful & Whimsical Book for Kids! Perfect for the Fall or Autumn Season, Halloween, & Thanksgiving!How Big Could Your Pumpkin Grow?Pumpkin Jack


What are the skills kids will learn from the pumpkin decorating craft?
This project may look simple, but it builds several important skills while kids are having fun.
- Creativity: Choosing colors and designs lets kids express themselves in unique ways.
- Fine Motor Skills: Painting with nail polish required careful hand movements, which helped improve control and coordination.
- Critical Thinking: Deciding how to decorate the pumpkin encouraged problem-solving and planning.
- Observation: Noticing how the polish looked on the pumpkin’s surface sparked a discussion about textures and finishes.
My Recommended Fall Printable Packs
To keep the pumpkin theme going, I always like to pair hands-on activities with printable packs. They give kids another way to explore fall topics through worksheets, games, and themed activities.


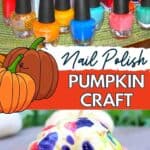
Pumpkin Craft Materials
For this particular pumpkin craft for kids, we need very few materials. Isn’t that great?
We only need:
- nail polish in different colors (I prefer the non-toxic kind)
- water
- a bowl or container where the mini pumpkin will fit (that you don’t care about ruining)
- a mini pumpkin (real or fake) with a stem
- a paper towel square
- optional: glitter in different colors
- optional: hair spray
The Science Behind This Pumpkin Activity
Although this activity may feel like art, there is also a bit of science at play. Nail polish contains ingredients that help it stick to smooth surfaces and dry quickly, which is why it works so well on pumpkins. It was fun to explain to my kids that the glossy finish comes from these chemicals forming a thin film as the liquid evaporates.
Another interesting point was noticing how different types of polish—glitter, metallic, or matte—behaved differently on the pumpkin. It gave us the opportunity to discuss textures and how substances interact with different surfaces.
Making the Pumpkin Craft Using Nail Polish
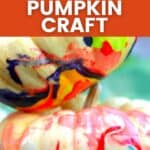
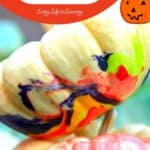
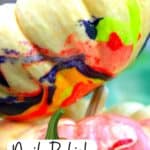
This is one of the most fun mini pumpkin crafts for kids to make, as it is both easy and creative. First, start with a bowl and fill it up with water, stopping at about 1 inch from the top. Choose the nail polish colors you want to use and sprinkle the nail polish until the entire surface of the water is covered.
Gently tap the container on its sides to mix the nail polish slightly. If you prefer it staying put as dots, then don’t tap it. It is all personal preference. Another option is to sprinkle some glitter on top of the nail polish. It will also stick to the pumpkin and will look beautiful.

These are such fun Fall pumpkin crafts. Now it gets a bit tricky. If you want the pumpkins to be completely covered up to the top, then use a bigger container and more nail polish. We only wanted the bottom half decorated, so we used this particular bowl size.
Have the child hold the pumpkin by the stem and dip it into the nail polish and water mix. When dipped, the nail polish will stick to the pumpkin. Remove it from the bowl, turn it over, and place it on a paper towel to dry completely. It might take about an hour or so.
I love the outcome. All of them will look different and unique. Once the pumpkin is completely dry, lightly spray the surface with hairspray to seal it. That’s it!
Ways to Extend the Lesson
If your kids are excited about pumpkins after this activity, there are plenty of ways to keep learning.
- Pumpkin Sensory Play: Pumpkin sensory activities allow kids to explore textures and smells while developing early science and descriptive language skills.
- Pumpkin Crafts: Pumpkin crafts for kids can extend the creative fun with more hands-on projects.
- Pumpkin Taste Test: Try different pumpkin-based foods like roasted seeds or pumpkin bread. Compare flavors and talk about how pumpkins can be used in cooking.
- Pumpkin Math Fun: Use real pumpkins to practice counting seeds, estimating weight, or measuring circumference. It’s a playful way to connect math to real life.

More Pumpkin Activities
More fun pumpkin activities to get hands-on and learn about these fun fall plants.
- Pumpkin Life Cycle Coloring Pages
- Pumpkin Worksheets
- Pumpkin Science Experiments
- Best Pumpkin Books for Kids
- Fall Tree Pumpkin Seed Painting Craft
- Pumpkin Apple Stamps by Homeschool Preschool
- Popsicle Stick Pumpkin Craft by Simple Everyday Mom
Use these fun crafts to decorate your home or to give as gifts. We made some in our Art homeschool co-op class, and the kids really loved making them.
Are you ready to make pumpkin crafts with your kids?

Nail Polish Pumpkin Craft
Equipment
- 6 Realistic Fall Harvest Small Beige Mini Artificial Pumpkins
- Baby Nail Polish
- Original Stationery Glitter Shake Jars
Materials
- nail polish in different colors I prefer the non-toxic kind
- water
- a bowl or container where the mini pumpkin will fit that you don’t care ruining
- a mini pumpkin real or fake with a stem
- a paper towel square
- optional: glitter in different colors
- optional: hair spray
Instructions
- Start with a bowl and fill it up with water, stopping at about 1 inch from the top. Choose the nail polish colors you want to use and sprinkle the nail polish until the entire surface of the water is covered.
- Gently tap the container on the sides so the nail polish mixes a little bit. If you prefer it to stay put as dots, then don’t tap it. It is all personal preference. Another option is to sprinkle some glitter on top of the nail polish. It will also stick to the pumpkin and will look beautiful.
- Have the child hold the pumpkin by the stem and dip it into the nail polish and water mix. When dipped, the nail polish will stick to the pumpkin.
- Take out of the bowl, turn it over, and lay it on a paper towel to dry completely. It might take about an hour or so.
- Once the pumpkin is dry completely, lightly spray the surface with some hair spray to seal it. That’s it!
Notes

Hi, I’m Monique Boutsiv! I’ve been homeschooling for 18 years and have four children ranging from toddler to adult. I create science activities, educational printables and homeschool resources for preschool through elementary-aged children.
Today, Living Life and Learning includes more than 2,500 printable activities and educational resources to help parents and teachers spend less time planning and more time learning.
Follow along for new printable activities
These are so pretty! I want to try this 🙂