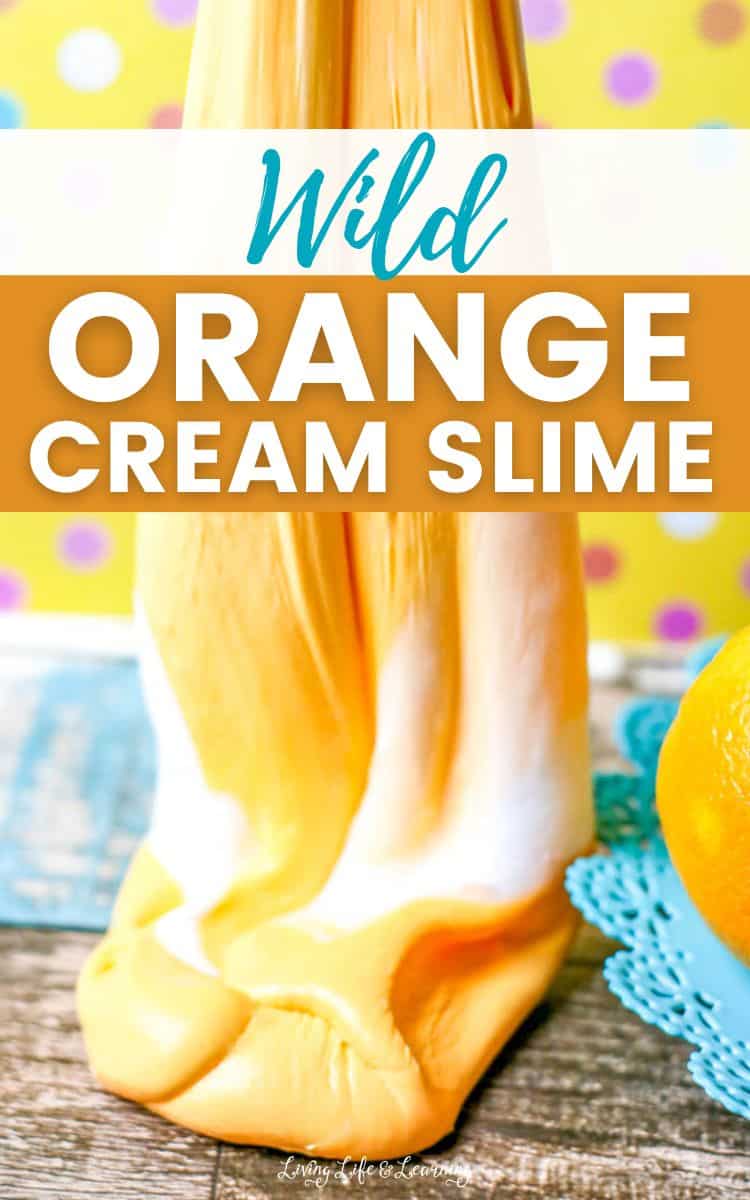
Wild Orange Cream Slime Recipe
Making and playing with slime is one of those activities that many parents are hesitant about doing. Just the name of the slippery substance can cause shudders. But there are so many benefits to making slime with your kids, and this wild orange cream slime recipe capitalizes on all of them!
Slime is a sensory activity, and this wild orange cream slime recipe is a sensory feast. Not only do you get the tactile and visual stimulation, but in this fun recipe, there’s a smell component. Now you can treat your kids to a special sensory slime experience.
>> See more Easy Slime Recipes
This post may contain affiliate links meaning I get commissions for purchases made through links in this post. Read my disclosure policy here.
Recommended Books to Make Slime
We love making slime here at Living Life and Learning. We’ve got several Easy Slime Recipes on the blog! Are your kids as obsessed with slime-making as ours? Check out these books. These are my favorites!
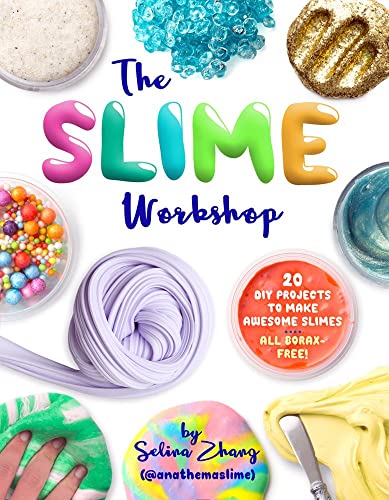
The Slime Book: All You Need to Know to Make the Perfect SlimeSlime 101: How to Make Stretchy, Fluffy, Glittery & Colorful Slime!Secrets of Slime Recipe Book: 30 Projects for Stretchable, Squishy, Sensory Fun!Ultimate Slime: DIY Tutorials for Crunchy Slime, Fluffy SlimeThe Book of Slime – A Kid’s Guide on How to Make the Best Slimes of All TimeThe Slime Workshop: 20 DIY Projects to Make Awesome Slimes―All Borax Free!
Recommended Slime Activity Kits
Creating slimes is undoubtedly one of the best sensory activities for your little one! Enjoy creating more with these recommended enjoyable slime activity kits.
Original Stationery Galaxy Slime Kit, Fun Slime Set with Glow in The Dark Stickers and Glow in The Dark PowderESSENSON Slime Kit – Slime Supplies Slime Making Kit for Girls BoysNATIONAL GEOGRAPHIC Mega Slime Kit & Putty Lab – 4 Types of Amazing Slime for Girls & BoysSlime Kit for Girls Toys Party FavorsChemistry Set for Kids . 5+ Science Experiments. Make Your own Slime lab KitPlayz Edible Slime Candy Making Food Science Chemistry Kit for Kids
Supplies for Making Wild Orange Cream Slime
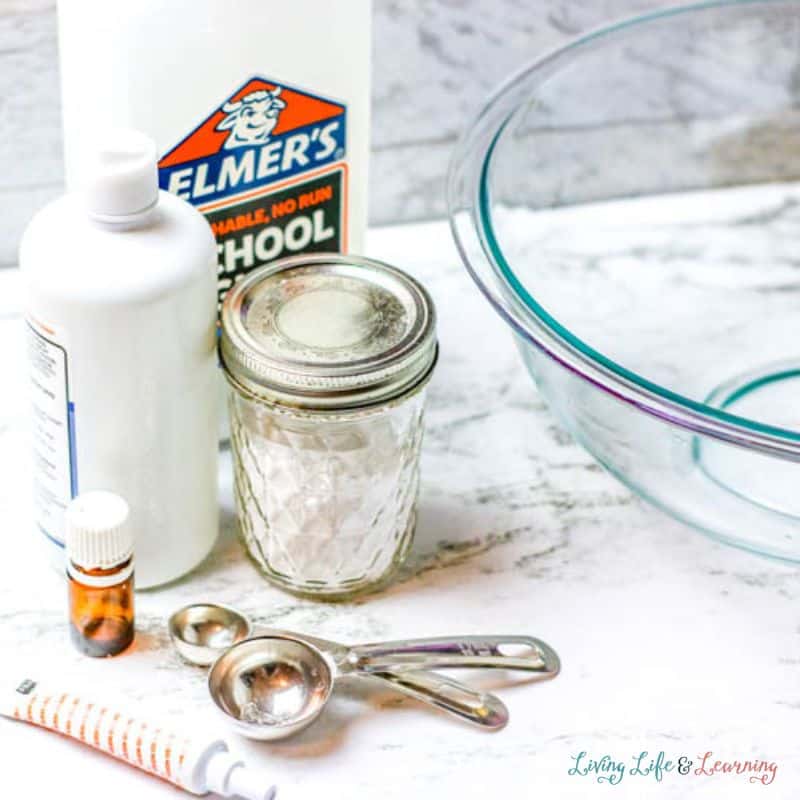
Here is the list of simple supplies for creating your super fun wild orange cream slime recipe. Want to know what the best part is? Most of these supplies can be found in your own cupboard at home. See the supplies list below.
- Elmer’s Glue (or other PVC glue)
- warm water
- contact lens solution, containing boric acid
- baking soda
- orange essential oil
- vanilla extract
- orange food coloring
- white or iridescent glitter (optional)
How to Make this Wild Orange Cream Slime Recipe
This wild orange cream slime looks and smells like candy! (But don’t eat it!!) In effect, you’ll be making two batches of slime and combining them for a wild slime fun time. Using essential oils, you can scent the slime and create a unique concoction that appeals to all the senses.
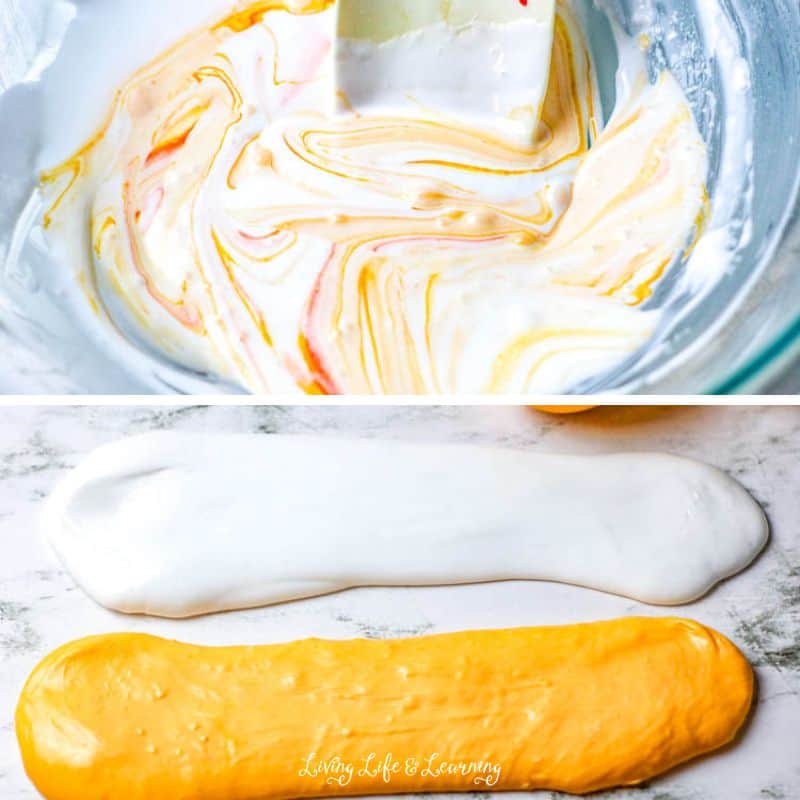
A basic slime recipe requires PVC glue, water, and a catalyst. In this recipe, we’re using baking soda and contact lens solution (containing boric acid). The catalyst combines and changes the glue and water into slippery molecules that act like a solid under pressure, and a liquid the rest of the time.
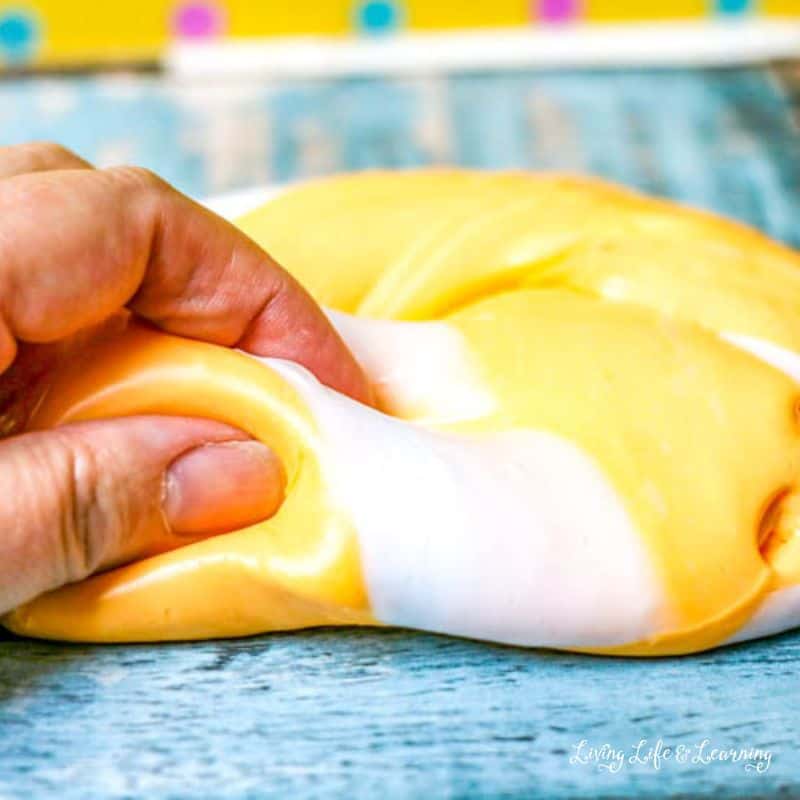
For even more sensory fun, you can use glitter along with the food dyes.
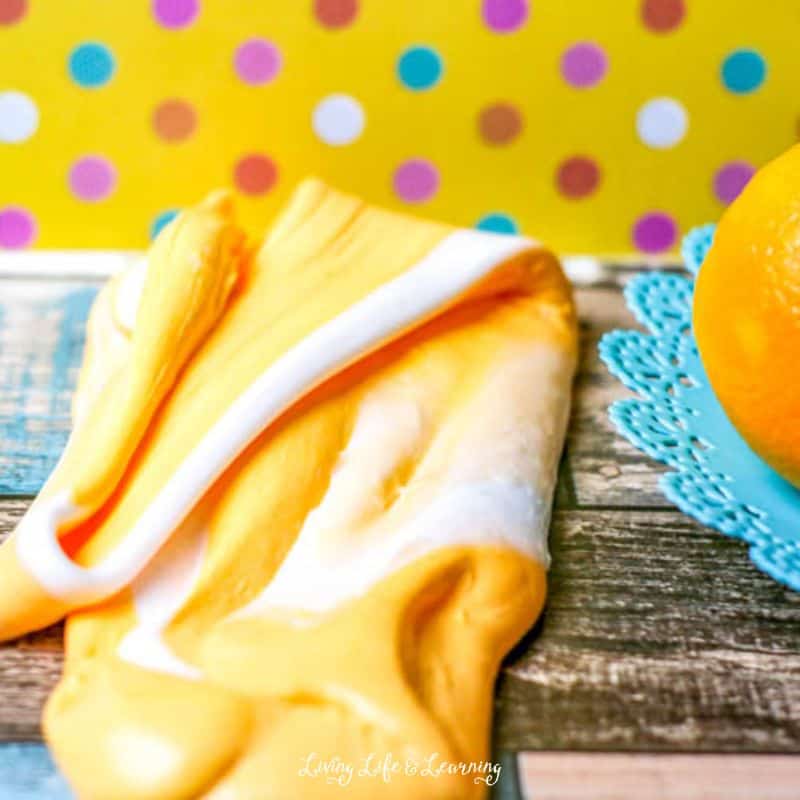
Using white or iridescent glitter for the white slime component can add just a little sparkle to your wild orange cream slime recipe.
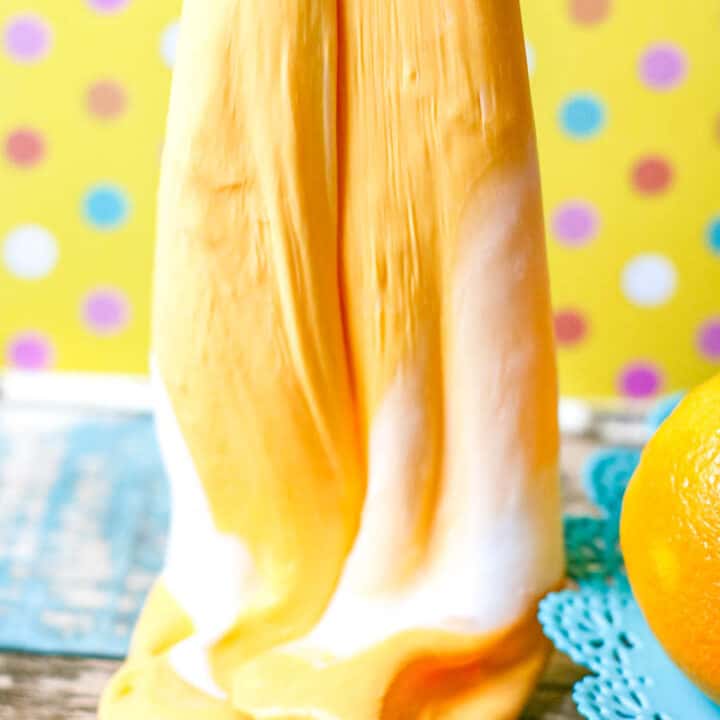
Wild Orange Cream Slime Recipe
Materials
- 2 bottles (6 oz) of Elmer's Glue (or other PVC glue)
- ½ cup of warm water (one ¼ cup for each batch)
- 2 tbsp of contact lens solution, containing boric acid (1 tbsp for each batch)
- 1 tsp of baking soda (½ tsp for each batch)
- 1 tsp of orange essential oil
- 1 tsp of vanilla
- orange food coloring
- white or iridescent glitter (optional)
Instructions
1. To make this slime recipe, you'll actually make two separate batches of slime - one in each color. Then you'll combine the colors to create the "candy" look of the wild orange cream slime.
2. First, empty each bottle of glue into separate bowls. Fill each bottle with approximately ¼ cup of warm water, close up with the original lid, and shake well. Once the remaining glue in the bottle has been combined with the water, pour it into the bowl with the glue, and stir to combine. Repeat with the other bottle of glue and water.
3. Add ½ teaspoon of baking soda to each bowl, and stir to mix thoroughly.
4. Now, use the food coloring to dye one batch orange. Add a few drops of the orange essential oil to the orange mixture. Use fewer drops for a lighter scent, and more for a stronger scent. Stir well to mix thoroughly.
5. Then, with the second bowl, add the glitter, if you're using it, and the vanilla. Stir.
6. Slowly add 1 tbsp of contact lens solution to the orange batch. Mix between additions, and only add enough to bring the glue together into a small ball. Remove from the bowl, and begin to play with it. It
will be sticky at first, but as you knead and stretch it, the slime will come together, and become less sticky.
7. Repeat with the white batch. Remember to add the contact lens solution slowly, and mix between additions. Only add enough contact lens solution to form a sticky ball. As you knead and play with the
slime, it will become less sticky and more fun.
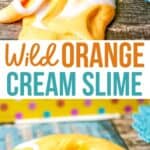
8. Take each batch and roll out. Twist them together to create the striped "cream" effect in the slime. Now you can play with your wild orange cream slime recipe. Can you smell the two separate scents? You will make two separate batches of slime with one in each color.
9. Empty the glue into a large bowl.
10. Fill the empty glue bottle about ⅓ full with warm water (about ¼ cup) and seal it with the lid. Shake well to combine the remaining glue with the water. Pour into bowl with glue and stir to combine.
11. Add the baking soda to the glue and stir to mix thoroughly.
12. If you are adding additional glitter, food coloring, scents, or confetti, stir into the glue mixture before adding the contact lens solution.
13. Add contact lens solution to the glue mixture and stir well. (Note: regular glue will require less contact lens solution than glitter glue. Add the contact lens solution slowly, mixing between additions,
and add only enough to bring the glue together into a soft ball.)
14. Remove the slime from the bowl. The slime will be sticky. Begin to play with the slime, stretching or kneading it as you would bread dough, to bring the slime together. The slime is ready when it is no
longer sticky.
15. When you're finished, store it in an airtight container in the refrigerator. It will remain fresh and useable for fun another time!
Recommended Products
As an Amazon Associate and member of other affiliate programs, I earn from qualifying purchases.
-
White Spectra Arts & Crafts Glitter, Clear, 4 oz., 1 Jar
-
Americolor Soft Gel Paste Food Coloring, Orange, .75 oz
-
Holographic Ultra Fine Glitter, 180G/6.35OZ Resin Glitter Powder Sequins Flakes, 1/128" Metallic Iridescent Glitter
-
Gya Labs Sweet Orange Essential Oil for Diffuser - 100% Pure and Natural Therapeutic Grade
-
Renu Contact Lens Solution, 12 Fl Oz
-
Elmer's Liquid School Glue
What a slime-y fun activity to create with your kids! Enjoy playing with the finished product of your wild orange cream slime and hop on to other slime activities listed on this blog.
More Slime Recipes
Borax-Free Bubbling Blood Slime Recipe for Kids by STEAMsational

