
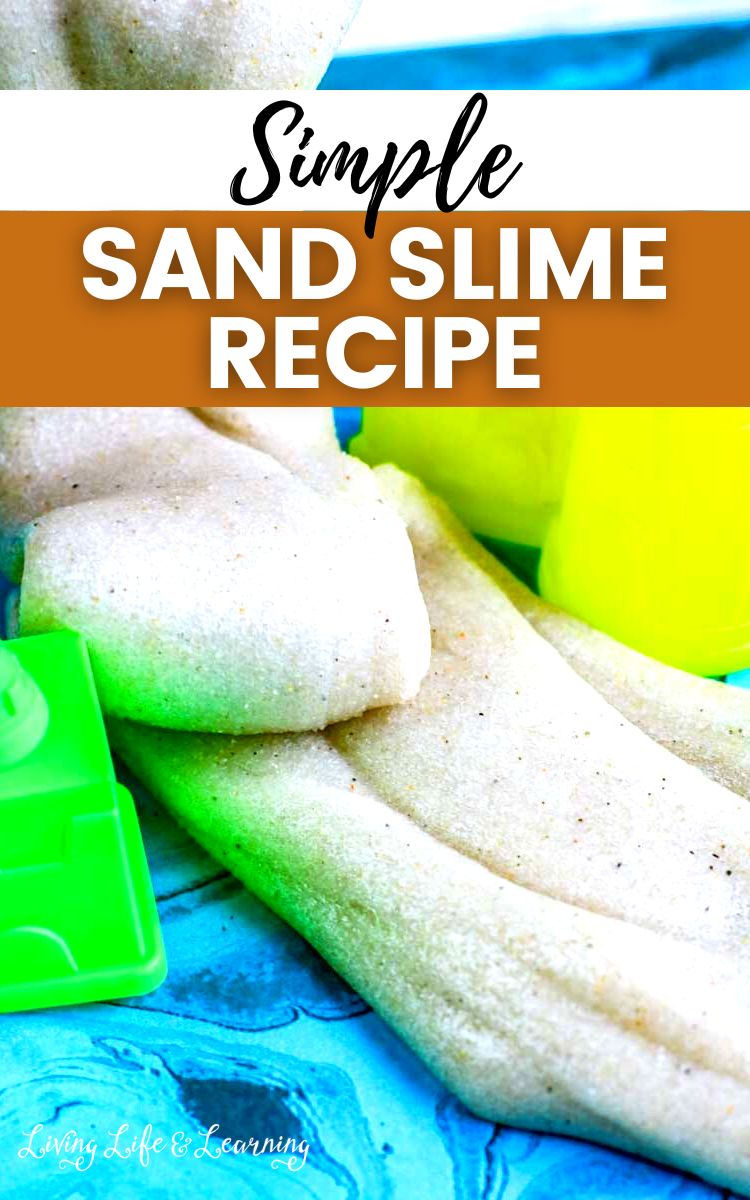
Simple Sand Slime Recipe

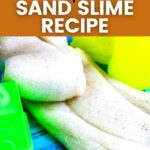
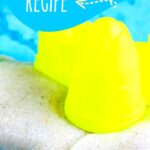
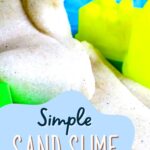
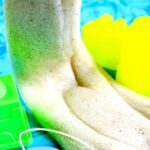


Can’t go to the beach? Bring the beach to your house with this simple sand slime recipe! It’s all the fun parts of the beach — without the sand in your shoes. Get gooey with sand slime, and have a blast with your very own backyard beach party.
Slime is one of those kids’ activities that works for all ages. Your little ones will be fascinated by the stretchy and sticky feeling, and your older kids will love the messy grossness of it.
And because it’s so simple to make, you can put it together super fast, for a quick activity to occupy your kids when they inevitably come with that “I’m bored!” whine.
Love slime? You can try these other easy slime recipes.
This post may contain affiliate links meaning I get commissions for purchases made through links in this post. Read my disclosure policy here.
Recommended Slime Book for Kids
Stave off boredom with some of our favorite slime and activity books for your kids. We love getting sticky and playing with slime — especially outside!
Secrets of Slime Recipe Book: 30 Projects for Stretchable, Squishy, Sensory Fun!Slime 101: How to Make Stretchy, Fluffy, Glittery & Colorful Slime!The Slime Book: All You Need to Know to Make the Perfect Slime101 Kids Activities that are the Ooey, Gooey-est Ever!: Nonstop Fun with DIY Slimes, Doughs and MoldablesSlime Sorcery: 97 Magical Concoctions Made from Almost Anything – Including Fluffy, Galaxy, Crunchy, Magnetic, Color-changing, and Glow-In-The-Dark SlimeHow To Make Edible Slime: 30 Fund and Yummy Slime Recipes: ( A Slime Book For Kids To Have Safe And Yummy Fun) (Slime Books For Kids)


So let’s get started with making this super simple sand slime recipe. Start with the basic slime ingredients and don’t forget your sand!
We recommend play sand, rather than the “kinetic” or foam sand you can get at toy stores. And please don’t use the aquarium sand. It’s full of small shells that could cut little hands inside a sticky slime recipe.
You can find play sand at any hardware store or garden center. Ask for the kind of sand that goes inside a sandbox. You only need a little bit, so you don’t have to buy a big bag. (Bonus: the rest of the play sand can be used in a sensory bin or sand and water table!)
Do you want more ocean activities? Your budding scientist will be so excited to try these Ocean Science Experiments!
Recommended Slime Activity Kits
If you want a ready-made slime kit, I recommend your to grab these two super cute slimes from Etsy!
If your child loves bees, check out this DIY Bee Hive Slime
If you have a unicorn-lover, this Unicorn Ice Cream Slime would be perfect.
Sand Slime Ingredients
To make slime, you’ll need:
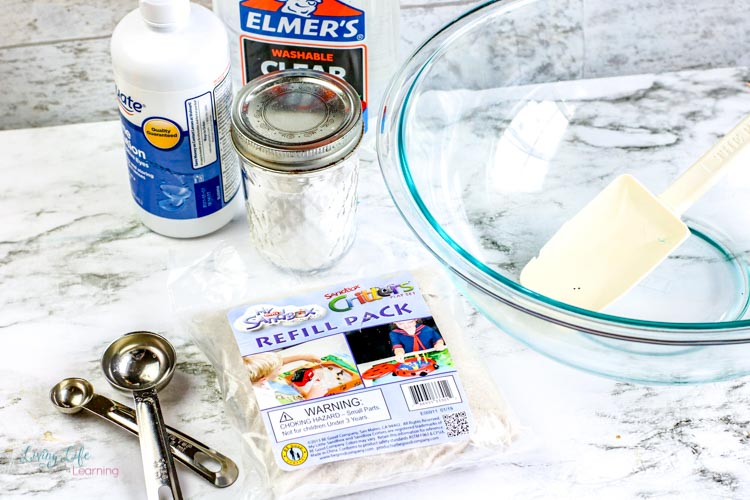
- a large mixing bowl
- a silicone spatula
- warm water
- baking soda
- contact lens solution (MAKE SURE IT HAS BORIC ACID)
- Elmer’s Glue
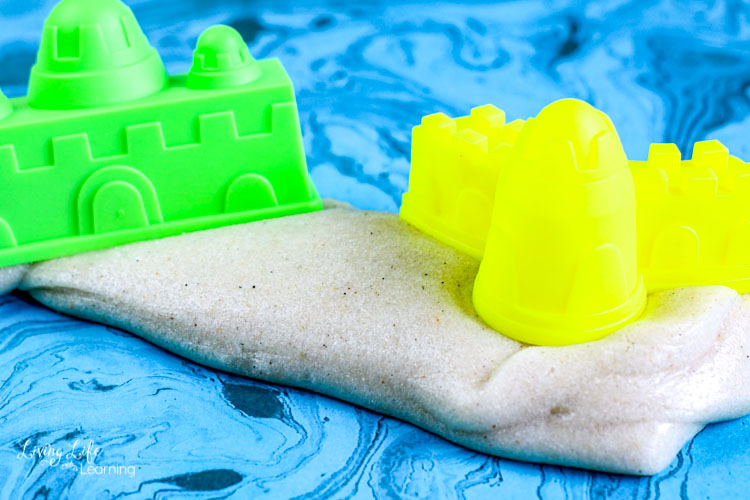
You’ll also need ½ to 1 cup of play sand, depending on how sandy you want to make your sand slime.
This is the fun part. As you mix the ingredients together, you can talk about how this is a form of chemistry. Try figuring out if the slime is a liquid or a solid (hint: it’s NEITHER!).
And for older kids, you can talk about how you’re combining parts to make a new whole in solution, and you can even get into how molecules bond.
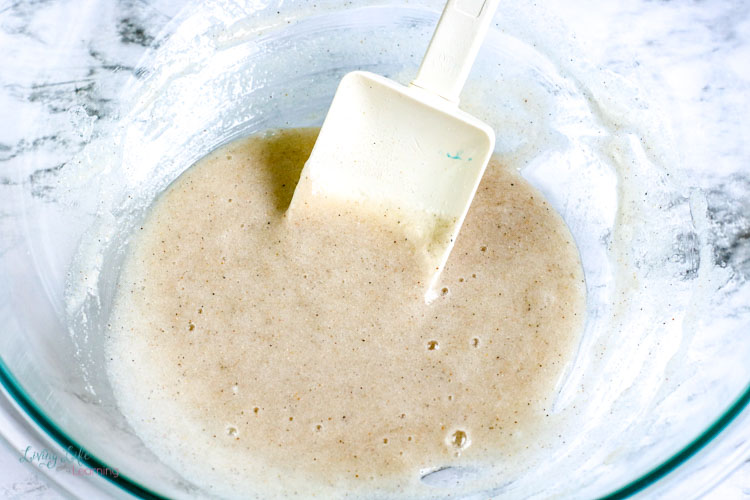
To actually make the slime, you’ll start with the glue. Empty the entire bottle into your large mixing bowl, then fill it with about a ¼ cup of warm water. Close the bottle and shake it to get the rest of the glue, then empty that into the bowl.
Now add the baking soda and mix it thoroughly. This will help keep your slime gelled together.
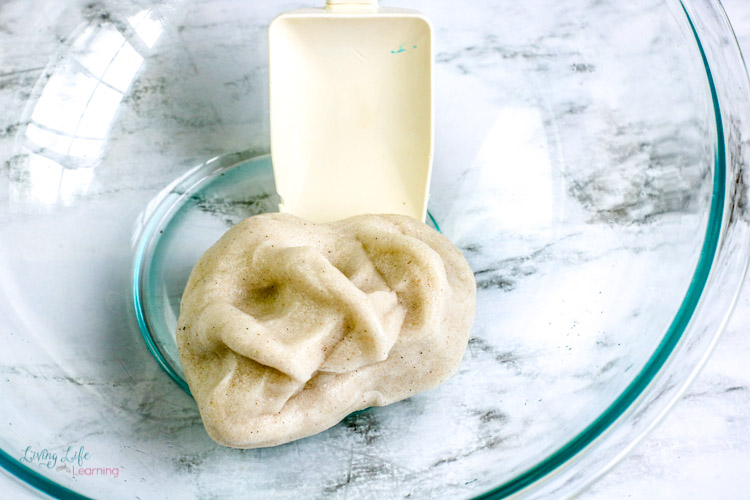
Next, add the sand to the glue mixture. Add just a little bit at a time, to make sure you hit the right consistency.
Finally, it’s time for the science magic. We’re using contact lens solution to “activate” our slime, or to start the chemical reaction.
Again, add just a little bit at a time, and mix between additions. The mixture will gradually become less runny and more sticky as you mix.
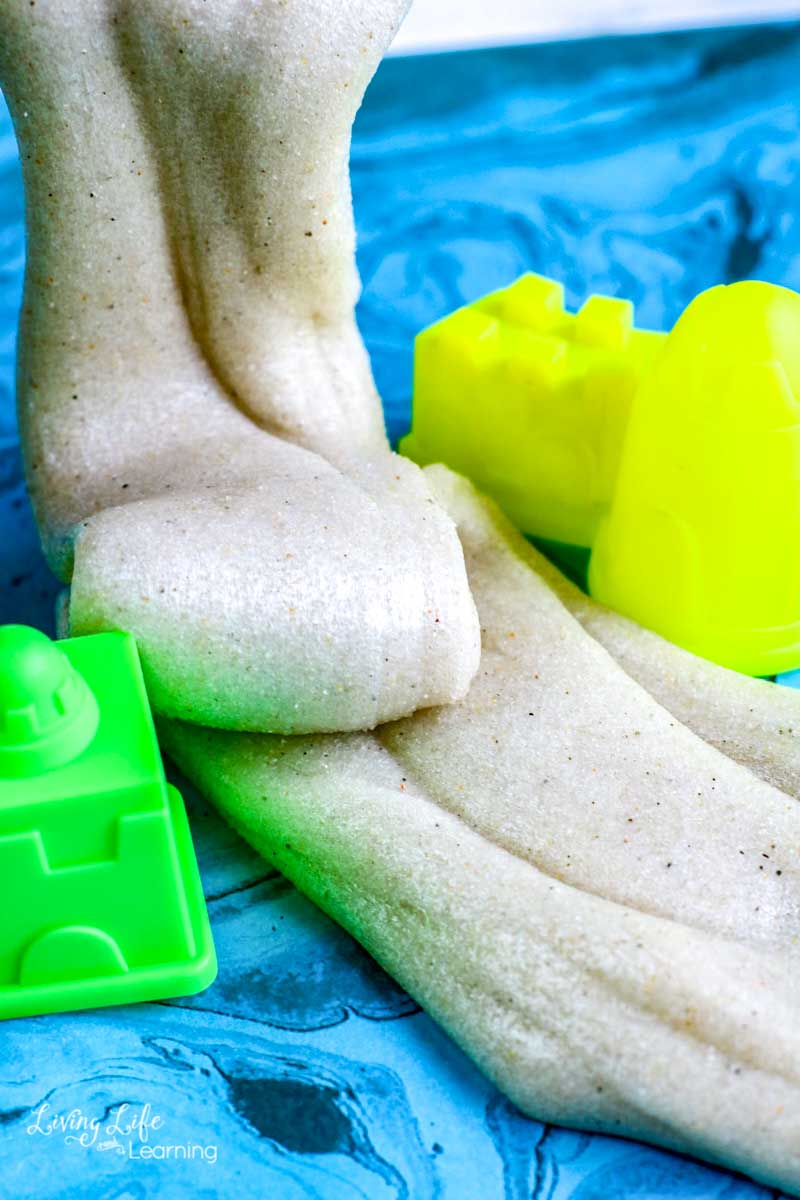
To make sure everything is caught up in the reaction, carefully take the slime out of the bowl. Knead it like you would bread, or play with it, stretching and squishing.
It will become less sticky as you work it, and when the sticky feeling is all gone, it’s ready.
To make your slime last longer, store it in an airtight container in your fridge. Then you can play with it again and again!
Just don’t eat it!

Simple Sand Slime Recipe
Equipment
- Arm & Hammer Baking Soda, 16 oz (3 Pack)
- Elmer’s Liquid School Glue
- Bausch + Lomb Biotrue Multi-purpose contact lens solution
Materials
- 1 large mixing bowl
- 1 silicon spatula
- ¼ cup warm water
- ½ tsp baking soda
- 1 tbsp contact lens solution MAKE SURE IT HAS BORIC ACID
- 1 bottle Elmer’s Glue the blue one ~ 6 oz
- ½ to 1 cup of play sand depending on how sandy you want to make your sand slime
Instructions
- Empty the entire bottle into your large mixing bowl, then fill it with about a ¼ cup of warm water. Close the bottle and shake it to get the rest of the glue, then empty that into the bowl.
- Add the baking soda and mix it thoroughly.
- Next, add the sand to the glue mixture. Add just a little bit at a time, to make sure you hit the right consistency.
- Use the contact lens solution to “activate” the slime, or to start the chemical reaction. Again, add just a little bit at a time, and mix between additions. The mixture will gradually become less runny and more sticky as you mix.
- To make sure everything is caught up in the reaction, carefully take the slime out of the bowl. Knead it like you would bread, or play with it, stretching and squishing. It will become less sticky as you work it, and when the sticky feeling is all gone, it’s ready.
Video
Notes
More slime recipes
Glow in the Dark Slime by The Life of Jennifer Dawn