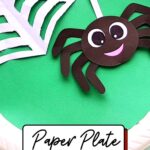
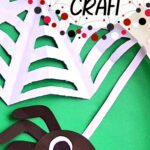
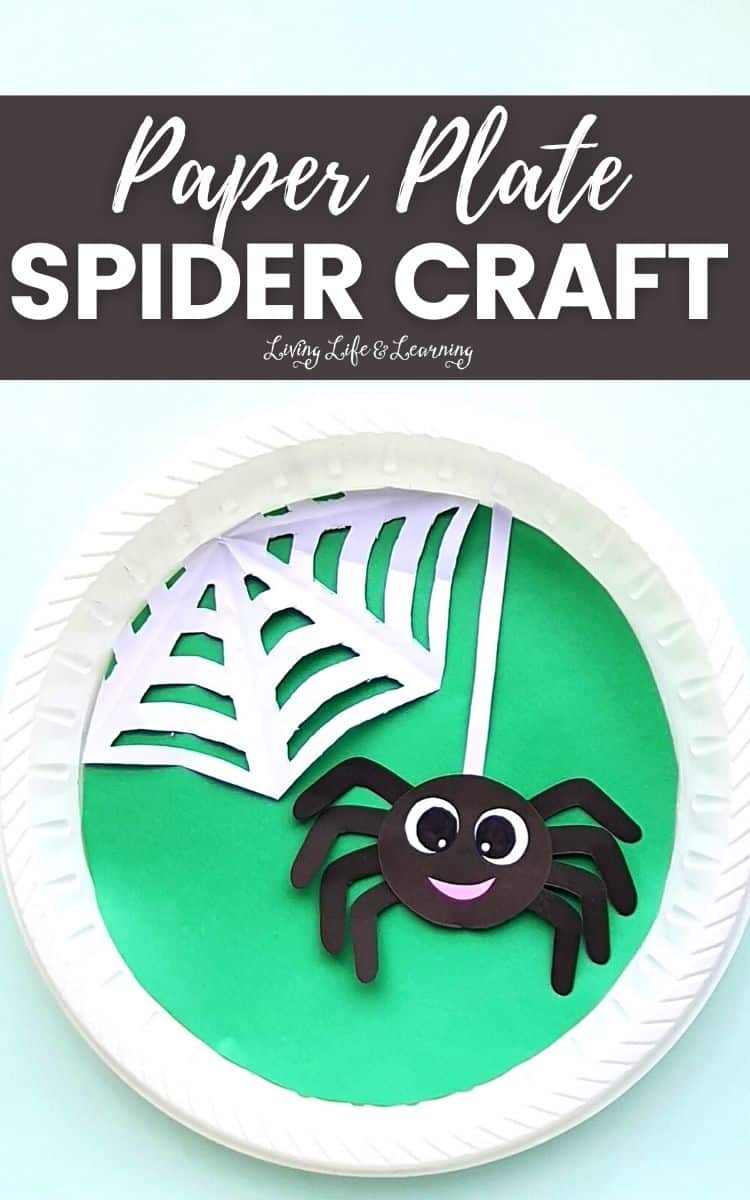
Paper Plate Spider Craft
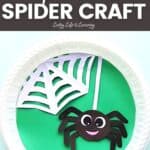
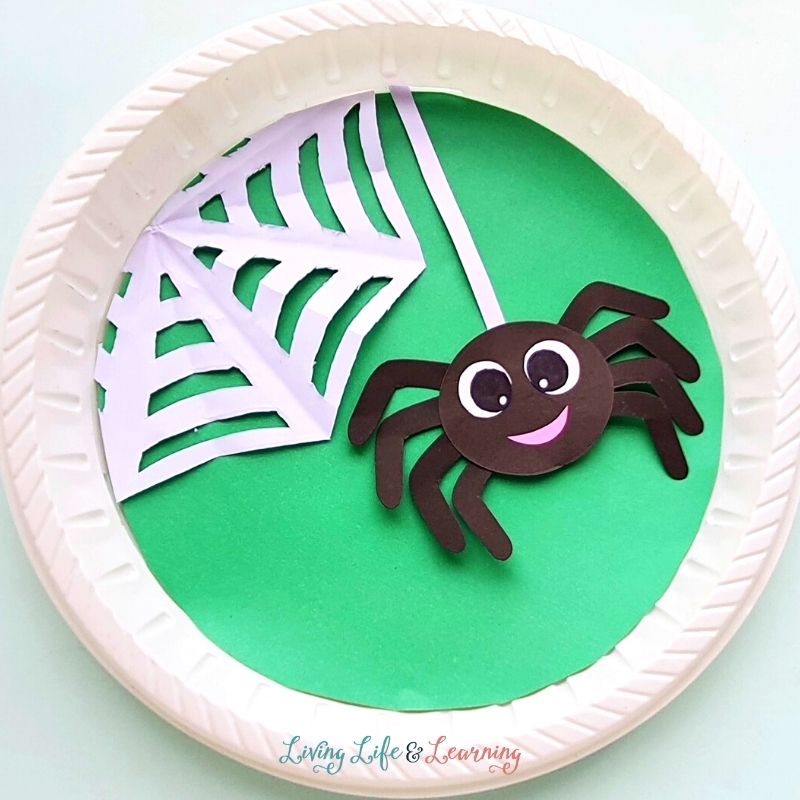
Do you like spiders? Of course not! Who does? But, what if I told you that this paper plate spider craft is so easy to make and doesn’t require any scary materials?
You can make them with your kids for a fun Halloween activity.
All you need are some paper plates, scissors, colored craft papers, and some basic craft supplies! Follow these simple steps and you will have a horde of cute spiders ready for Halloween.
Like this spider idea? See this list of cool spider activities for kids.
Check the instructions below to get started on your spider craft today!
This post may contain affiliate links meaning I get commissions for purchases made through links in this post. Read my disclosure policy here.
What is the biggest spider in the world?
Before starting with our spider craft, let’s first have an interesting trivia about spiders.
Did you know that the Goliath birdeater is the largest spider in the world? It can reach a leg span of up to nearly a foot wide, its body can be up to four inches long, and is also the heaviest spider in the world. It can weigh up to six ounces.
The Goliath birdeater is native to the rainforests of South America, where it can be found in countries like Brazil, Venezuela, and Guyana. The Goliath birdeater is not deadly to humans, but it can give you a nasty bite.
The Goliath birdeater is a fascinating creature that kids will love learning about. And homeschooling parents can use the Goliath birdeater as a fun way to teach their kids about spiders and the rainforest.
There are so many spider species that your child can learn more about.
Recommended Spider Books for Kids
To know more about spiders, these books will be great resources or a way to extend your homeschool spider lesson. Kids will love the spider stories, too!
Spider! (Shout Fear Out)The Very Busy SpiderSpiders (New & Updated Edition)Spiders: Amazing Pictures & Fun Facts on Animals in Nature (Our Amazing World Series)I’m Trying to Love SpidersAre You a Spider? (Backyard Books)
Recommended Spider Activity Kits
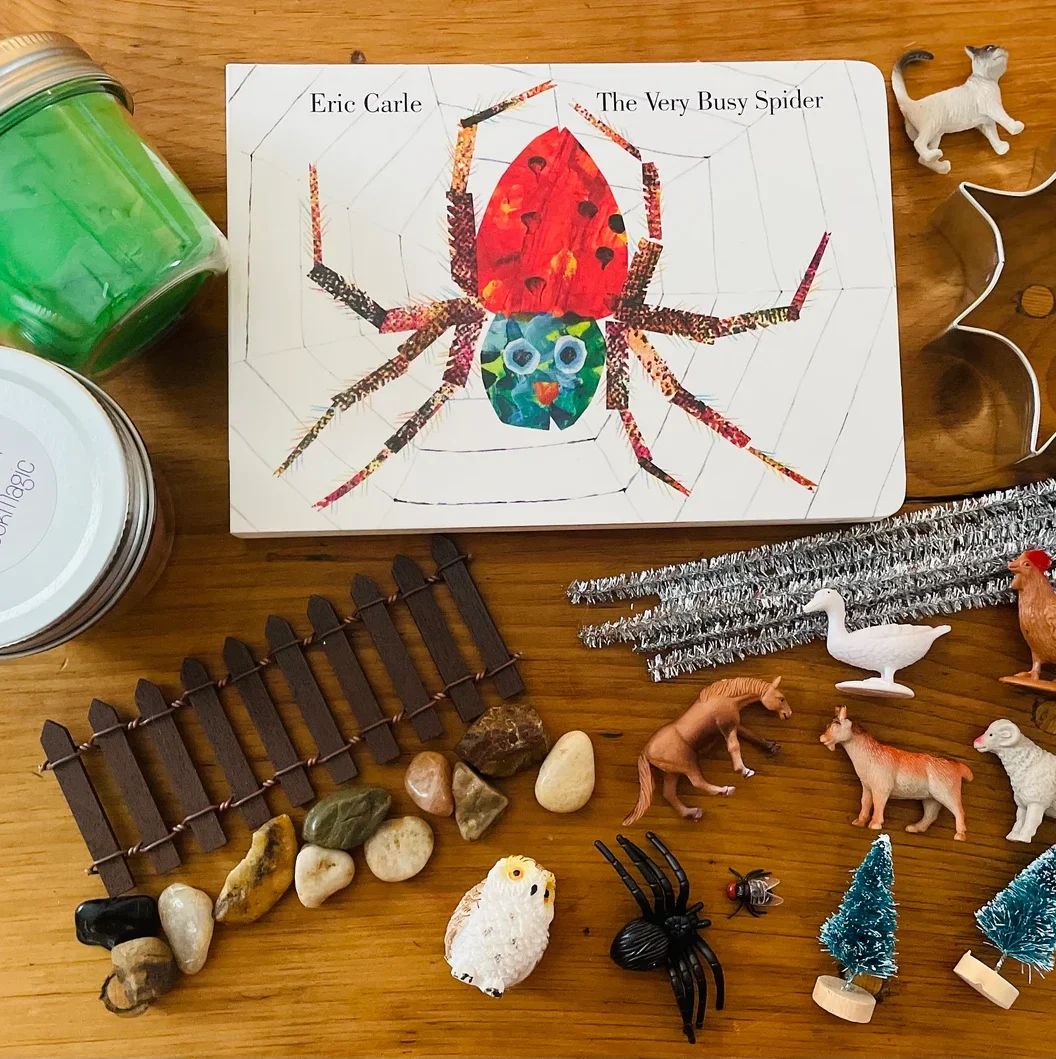
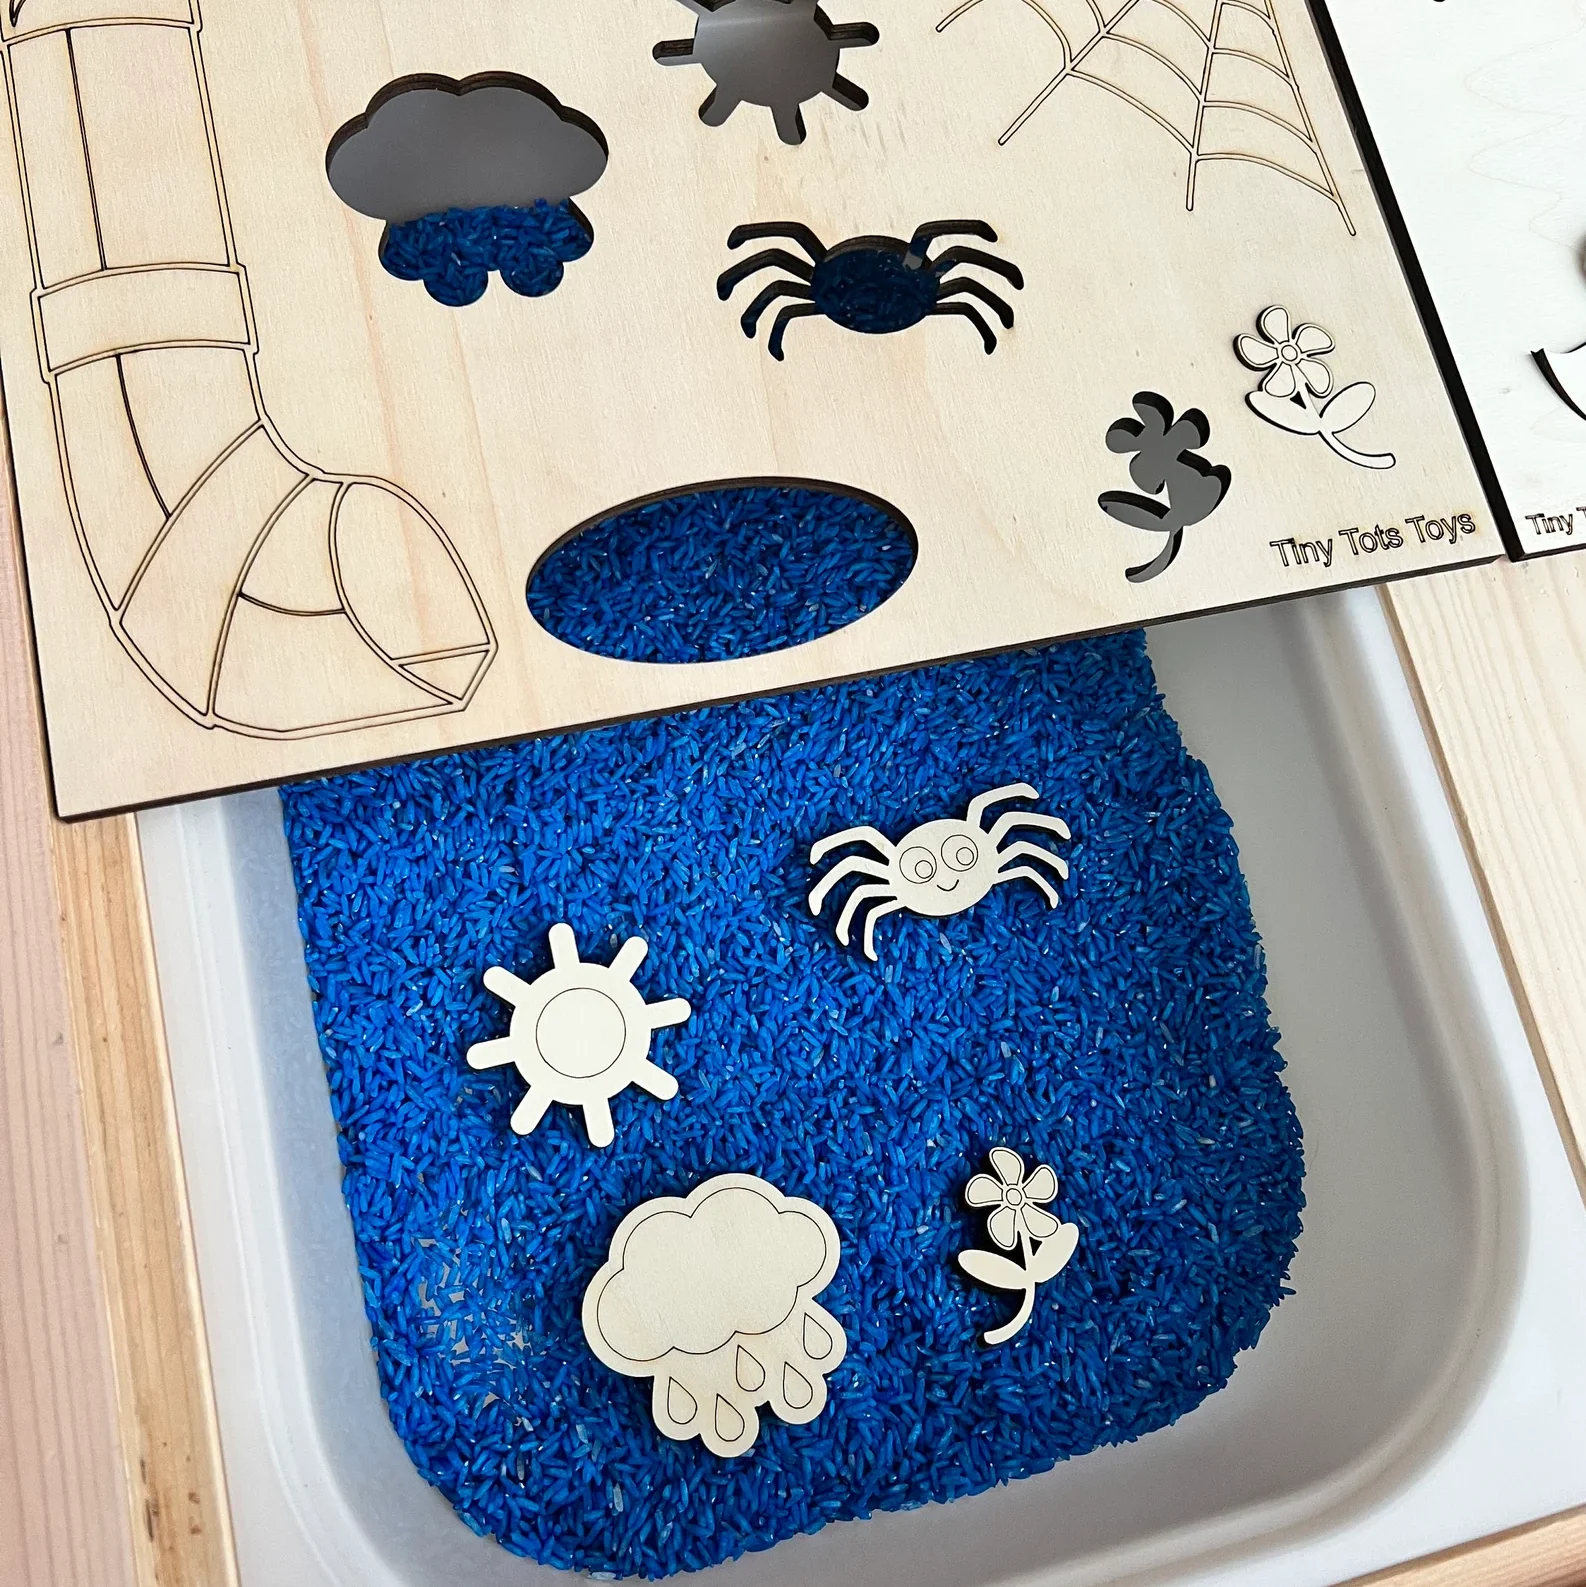
Get this The Very Busy Spider Sensory Play Dough Kit and pair it with The Very Busy Spider Book. You can also get this Incy Wincy Spider Nursery Rhyme Activity Lids which is a perfect gift for kids who love singing.
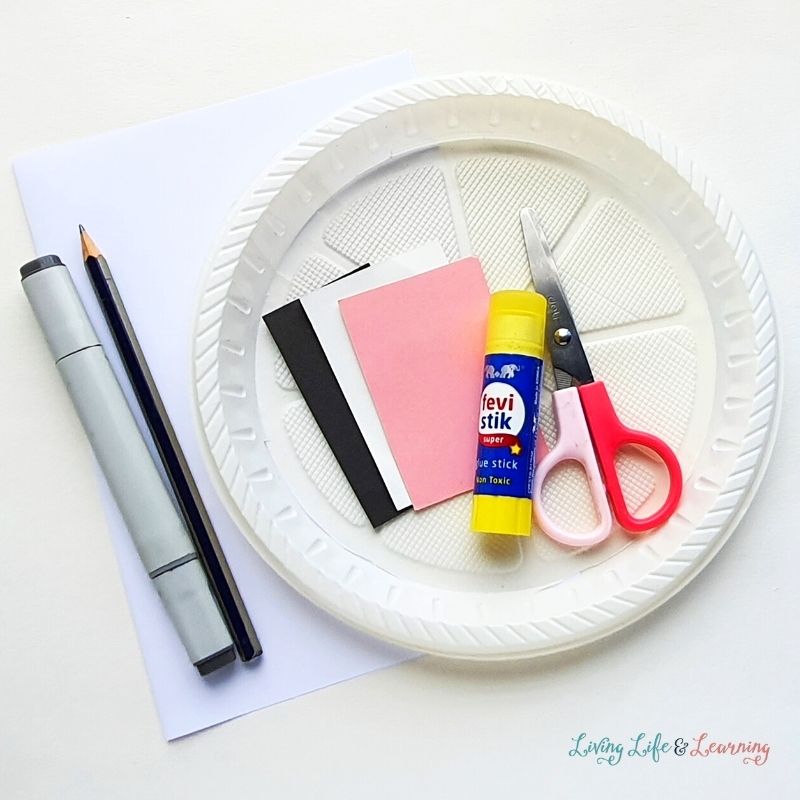
Paper Plate Spider Craft Supplies
- Colored craft papers
- Cardstock paper (white)
- Paper plate
- Sharpie
- Craft glue
- Pencil
- Scissors
Colored Paper, Colored A4 Copy PaperWhite CardstockBeacon 3-in-1 Advanced Craft Glue 8 oz
Instructions:
Step 1:
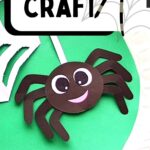
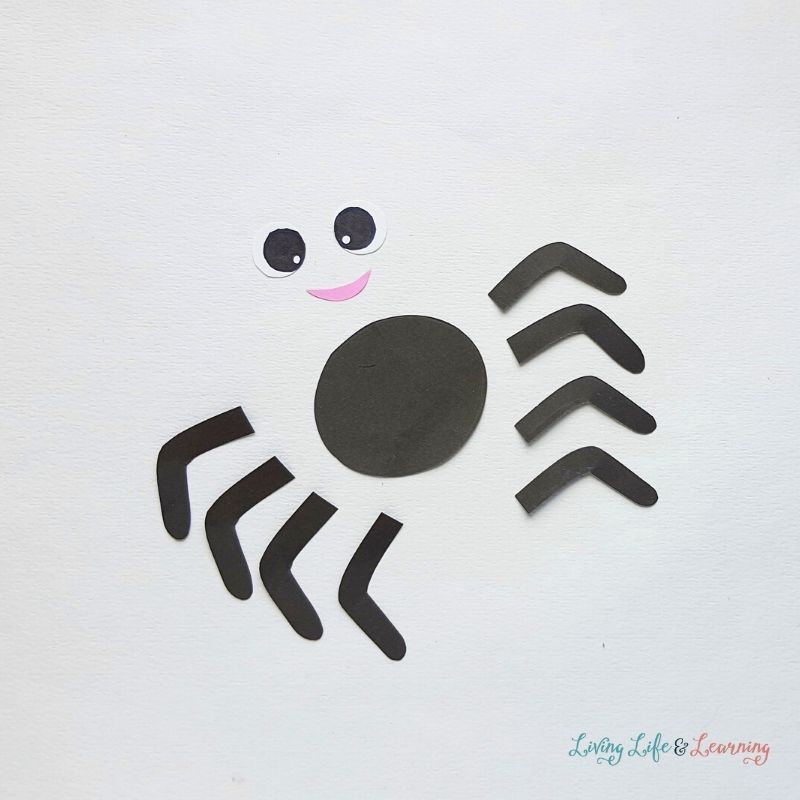
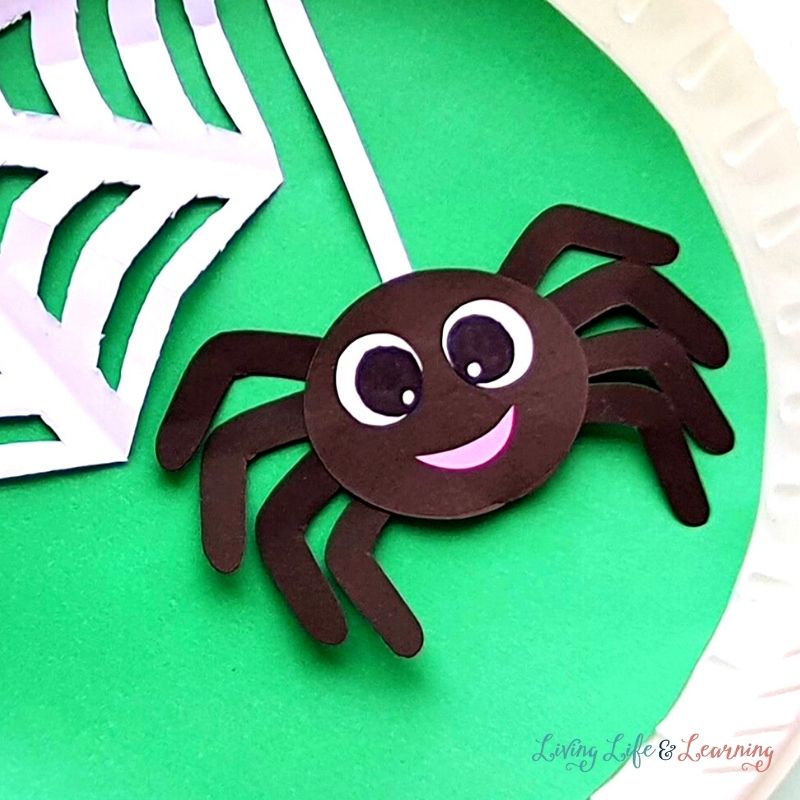
Prepare your craft papers — black, white, pink, and any other colored craft papers. Trace the spider base and legs on the black craft paper, the mouth on pink paper, and cut out the eyes directly from the template.
Step 2:
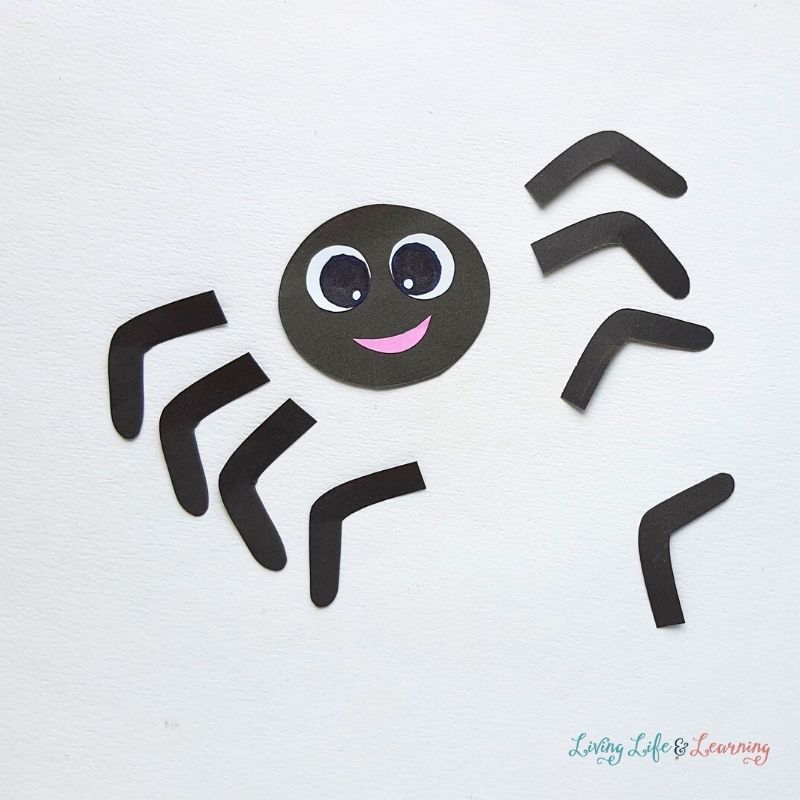
Glue the eyes and the mouth on the spider base.
Step 3:
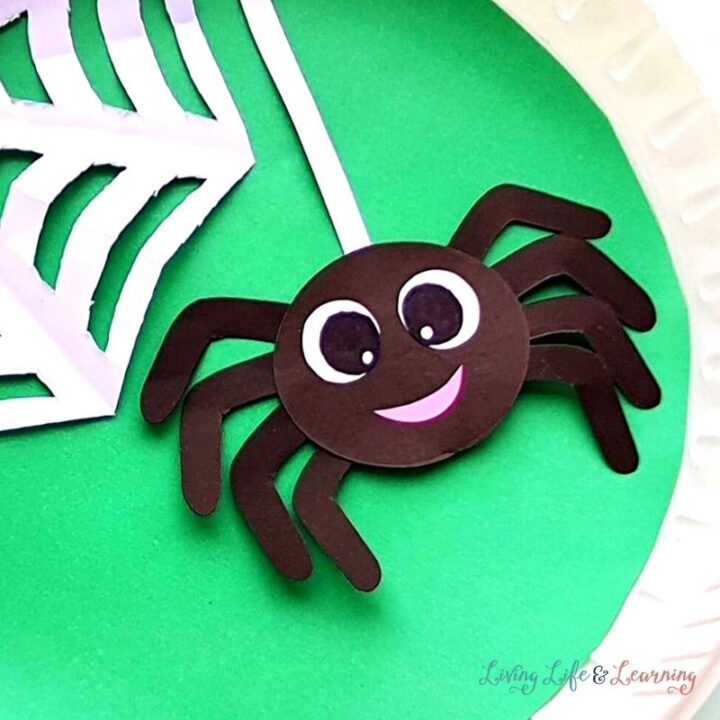
Attach the leg cutouts on the left and right sides of the spider base, with 4 legs on each side, keeping the round ends of the legs facing out and downwards.
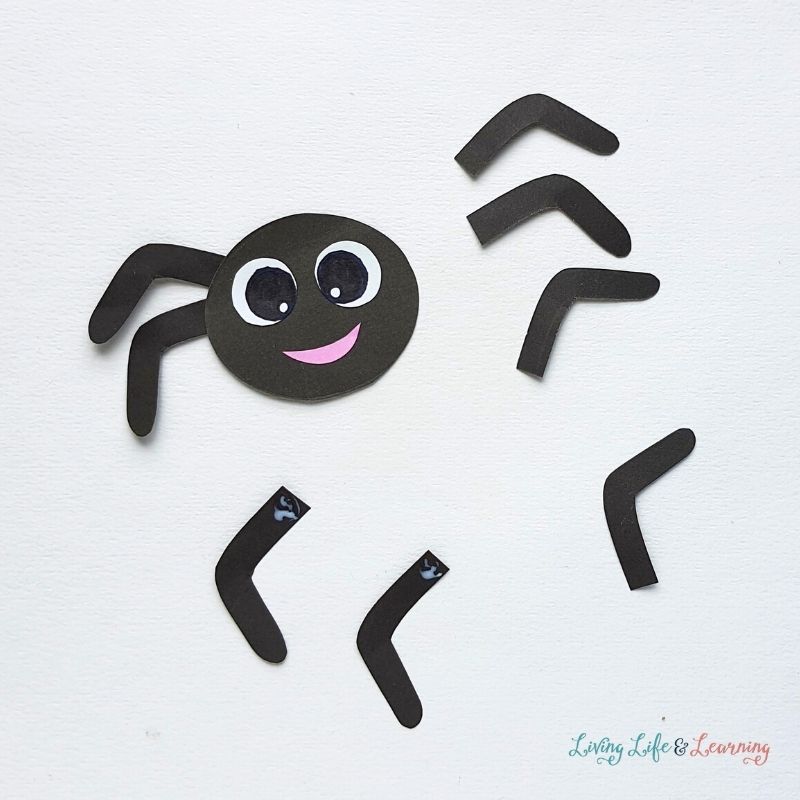
Step 4:
Cut out a long strip from white cardstock paper.
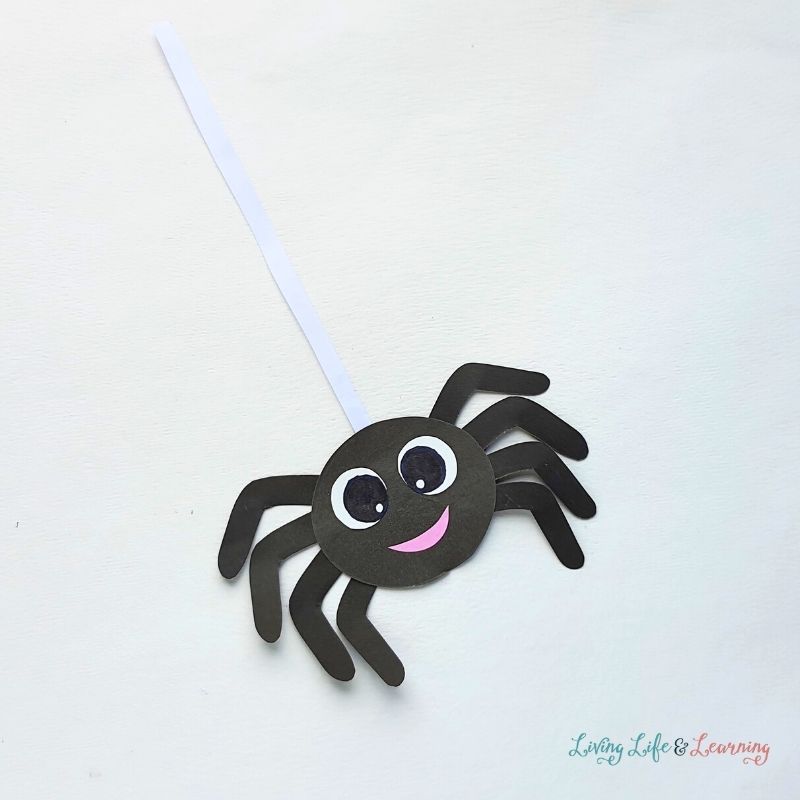
Step 5:
Take a white paper square (8 inches x 8 inches) to craft the spider web pattern.
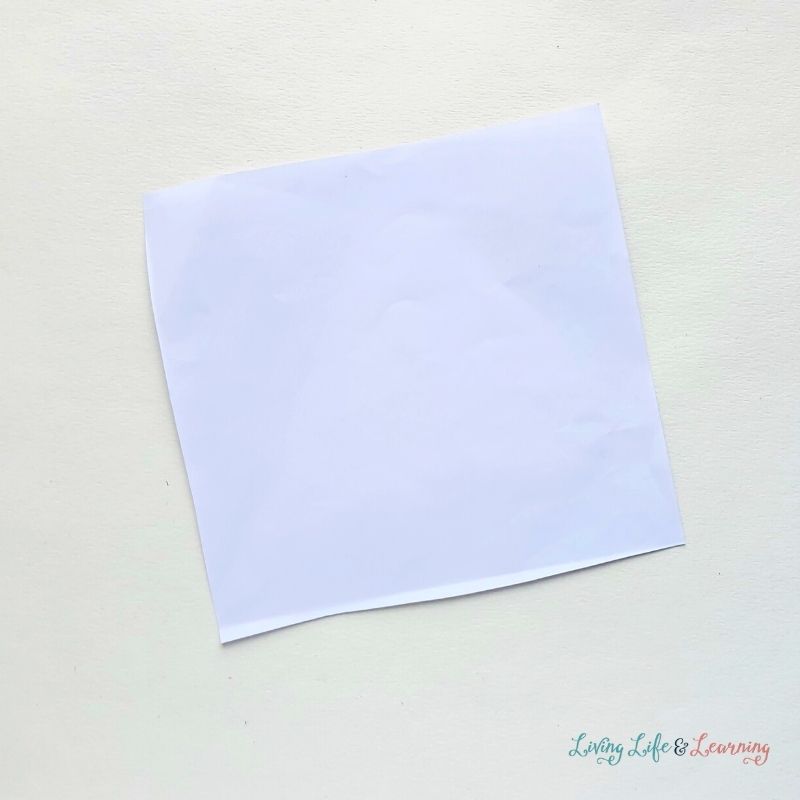
Step 6:
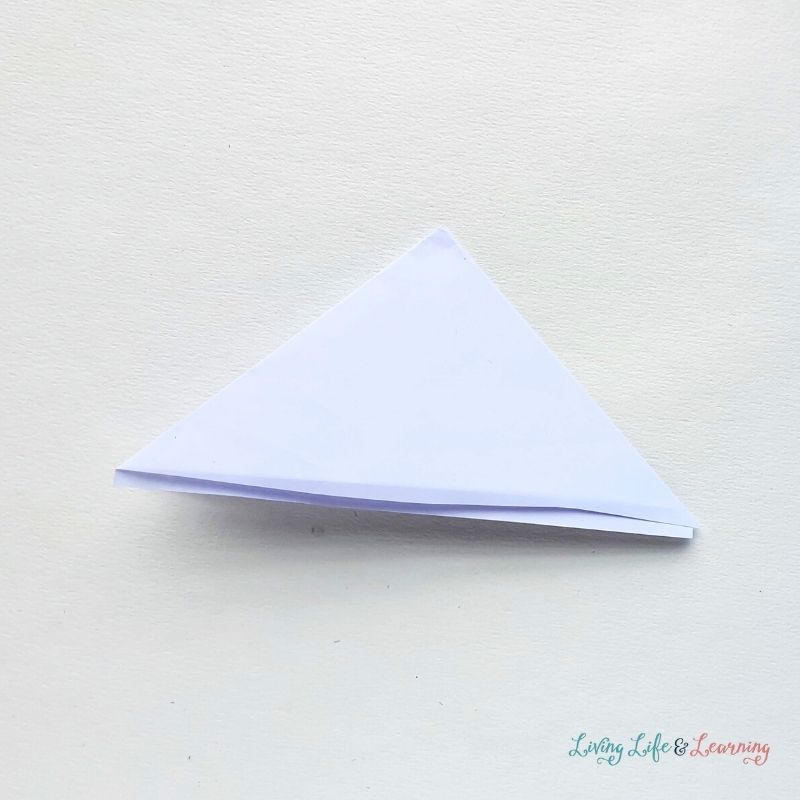
Fold the square paper in half diagonally.
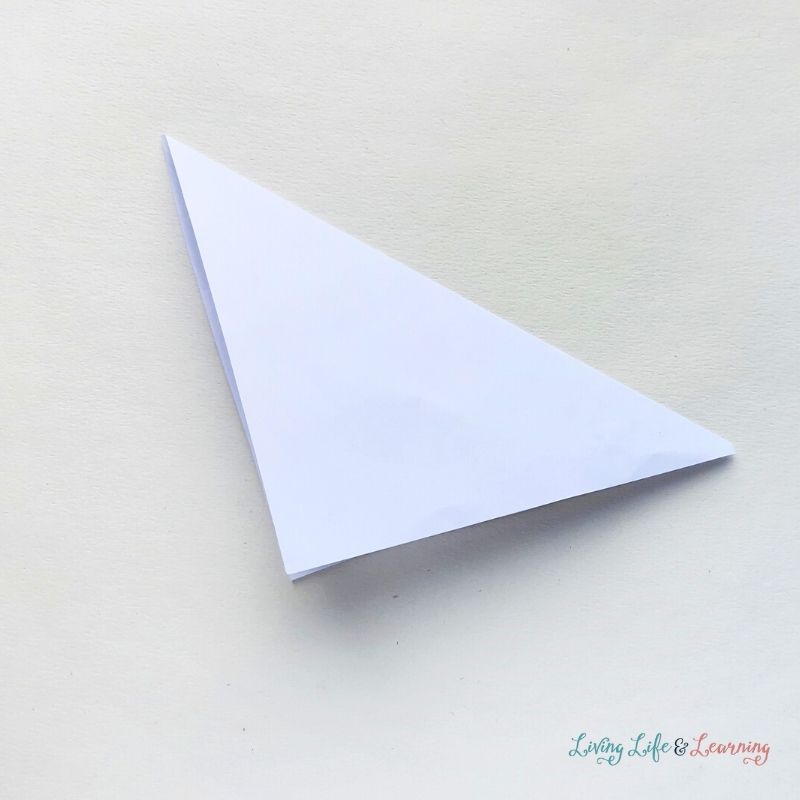
Step 7:
Fold the paper into have diagonally again.
Step 8:
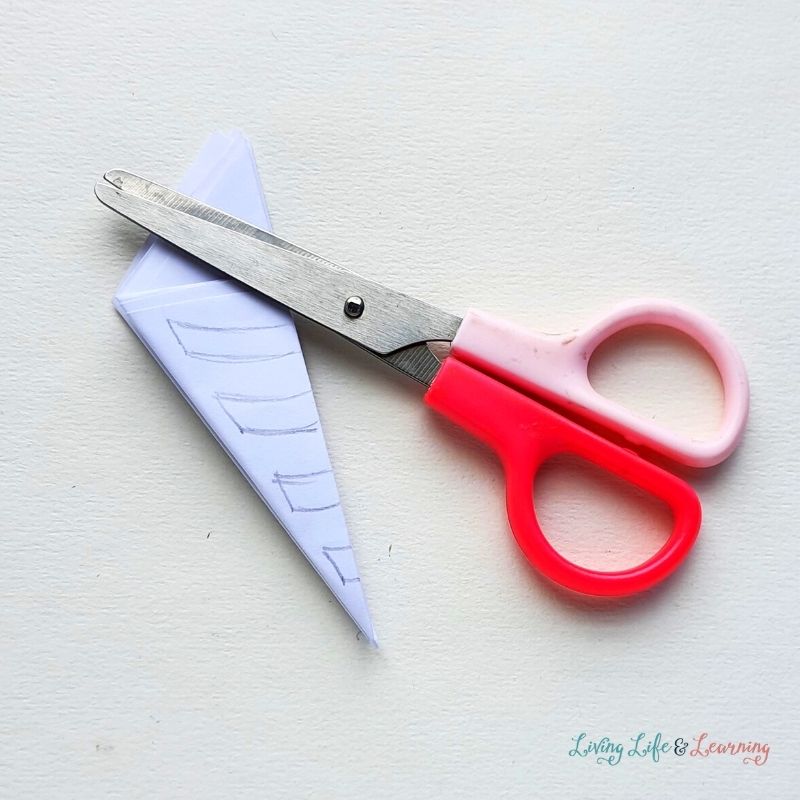
Fold the current paper into half 2 more times. Draw the patterns (as shown in this picture) on the folded paper.
Step 9:
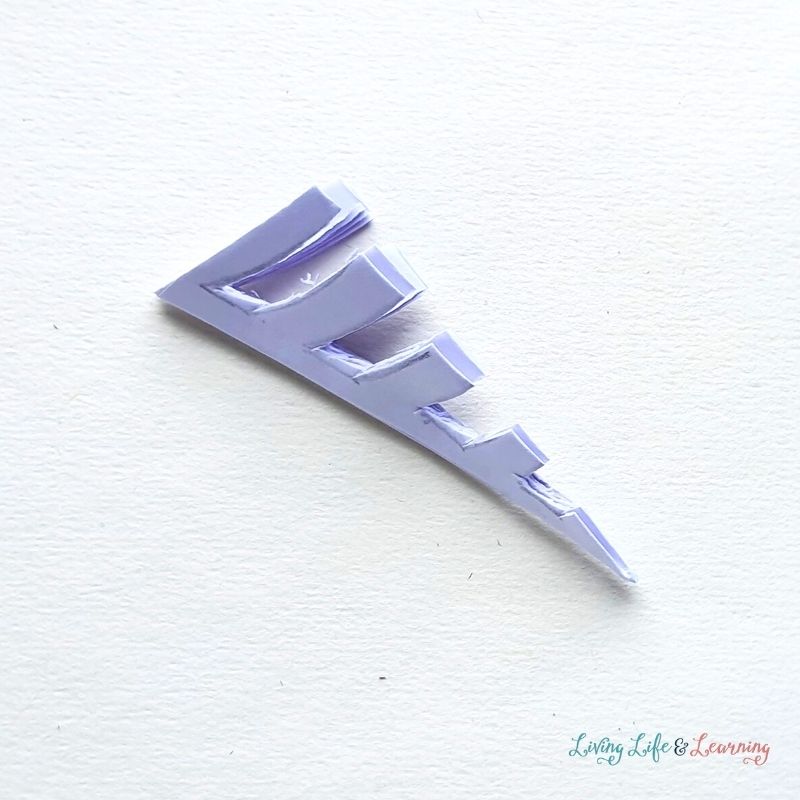
Use scissors to cut out the patterns from the side of the folded paper.
Step 10:
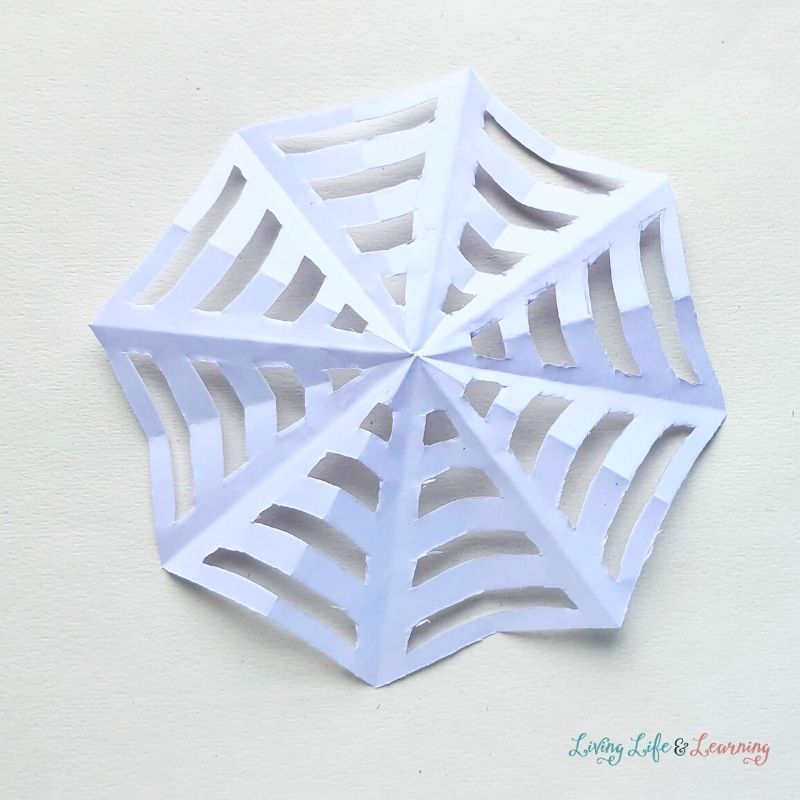
Unfold all the folds of the square paper. This is the spider web for our craft.
Step 11:
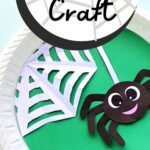
Take the paper plate and cover the inner surface of the plate with a colored craft paper of your Take the paper plate and cover the inner surface of the plate with colored craft paper of your choice and then attach the paper spider web to it. You can adjust the spider web by cutting it around the side.
Step 12:
Make a small slit on a side of the paper plate (near the spider web) and insert the open end of the spider thread (attached to the papercraft spider) through the slit. Draw an inch or 2 of the thread’s open-end outside the paper plate through the slit and then you can move it from left to right to make the spider move.
Paper Plate Spider Craft
A very easy craft for Halloween or to make your ordinary Homeschool day extra special!
Materials
- Colored craft papers
- Cardstock paper (white)
- Paper plate
- Sharpie
- Craft glue
- Pencil
- Scissors
Instructions
- Prepare your craft papers — black, white, pink, and any other colored craft papers. Trace the spider base and legs on the black craft paper, the mouth on pink paper, and cut out the eyes directly from the template.
- Glue the eyes and the mouth on the spider base.
- Attach the leg cutouts on the left and right sides of the spider base, with 4 legs on each side, keeping the round ends of the legs facing out and downwards.
- Cut out a long strip from white cardstock paper.
- Take a white paper square (8 inches x 8 inches) to craft the spider web pattern.
- Fold the square paper in half diagonally.
- Fold the paper into have diagonally again.
- Fold the current paper into half 2 more times. Draw the web patterns on the folded paper.
- Use scissors to cut out the patterns from the side of the folded paper.
- Unfold all the folds of the square paper. This is the spider web for our craft.
- Take the paper plate and cover the inner surface of the plate with colored craft paper of your choice and then attach the paper spider web to it. You can adjust the spider web by cutting it around the side.
- Make a small slit on a side of the paper plate (near the spider web) and insert the open end of the spider thread (attached to the papercraft spider) through the slit. Draw an inch or 2 of the thread’s open-end outside the paper plate through the slit and then you can move it from left to right to make the spider move.
Recommended Products
As an Amazon Associate and member of other affiliate programs, I earn from qualifying purchases.
This spider craft is super easy and cute. So whether you try this as a Halloween activity or to make your homeschool lesson special, your kids will surely have lots of fun!
Download the Paper Plate Spider Craft template below
If you have a preschooler who’s into crafts, check out this list of Spider Crafts for Preschoolers!
Getting ready for Halloween? These Halloween Kindergarten Activities will be fun!
More Spider Activities
Need even more spider fun? See these other spider activities that you can add to your homeschool.
Spider Activities for Preschoolers
Preschoolers will love these spider activities. Very simple and fun to do!
Spider Activities for Kindergarten
You will have an awesome activity time during your homeschool spider lesson with these spider-themed activities. Perfect for spider-lovers!
Life Cycle of a Tarantula Worksheet
Spider Worksheets for Elementary Students
Spider Science Activities for Preschoolers
The Very Busy Spider Craft and More Spider Activities
Spider Themed Number Counting Mats by 3 Dinosaurs

