
Spider Life Cycle Craft


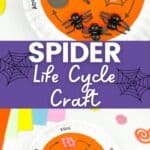
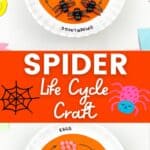
Does your child love spiders? Then this spider life cycle craft is perfect for them! Not only will it allow them to express their creativity, but it’ll also teach them about the life cycle of spiders. They’ll have fun making each part of the spider and putting it all together – watching as their creation comes alive.
If your kids enjoy learning about spiders, make sure to take a look at this list of fun spider activities for kids!
This simple and straightforward DIY project can be done with few resources, which makes it great even on a budget.
Plus, once they complete the project, they’ll get bragging rights among their family and friends when they show off their finished product.

This post may contain affiliate links meaning I get commissions for purchases made through links in this post. Read my disclosure policy here.
Fun Facts About the Amazing Life Cycle of a Spider
- Eggs in a Safe Sack – A mother spider lays eggs in a silk sack to keep them safe. Some spiders carry the sack with them!
- Tiny Spiderlings Hatch – Baby spiders, called spiderlings, hatch from the eggs and look like tiny versions of their parents.
- Shedding to Grow – Spiders outgrow their skin and shed it several times before becoming full-grown adults. This is called molting!
Why are spiders important in the ecosystem?
Spiders may seem scary to kids and adults, but they are an essential part of the ecosystem!
Between eating insects, pollinating, and providing shelter, spiders help create a balanced environment. Spiders reduce pest populations through predatory behavior, which helps keep plants healthy.
Rather than thinking of spiders as pesky insects, we should recognize how impactful they are in maintaining harmony in our natural world. What an incredible creature!

Recommended Spider Books
Books are the best way for kids to understand the importance of spiders.
We should all know how important they are, and why not start by reading and learning about them? Grab one or two of these books to see which one your kid will resonate with!
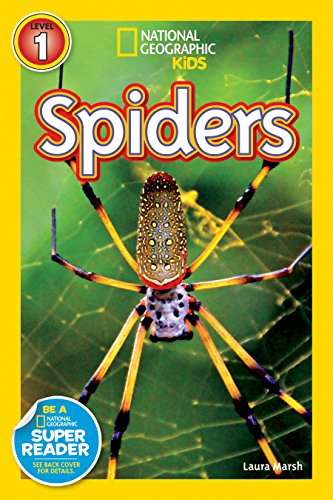
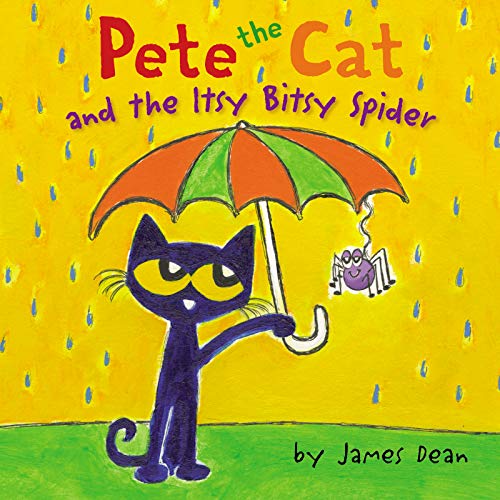
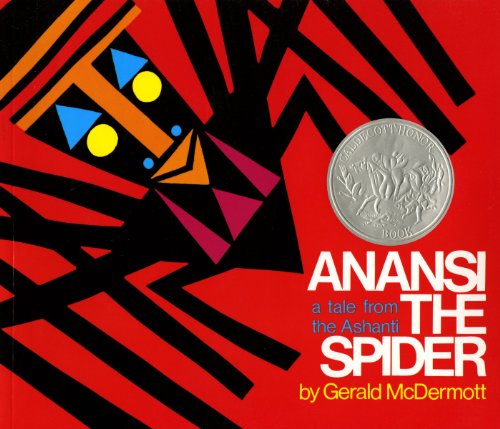
The Very Busy SpiderI’m Trying to Love SpidersAre You a Spider? (Backyard Books)National Geographic Readers: SpidersPete the Cat and the Itsy Bitsy SpiderAnansi the Spider: A Tale from the Ashanti

Spider Craft Supplies
- Acrylic paint (Black)
- Construction papers (Orange and black)
- Paintbrush
- Scissors
- Glue stick
- Marker
- Beads (Pink and brown)
- White cotton balls
- Paper plate

Spider Life Cycle Activity Instructions
Grab your materials, and let’s get started with this spider life cycle craft!
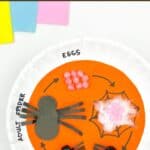
Cut a circle on orange construction paper. Make sure to be careful when using the scissors! Attach it to the paper plate.
Then, place pink beads on the paper plate.
Next, draw a spider web, the white cotton balls on top of the spider web you drew, then place pink beads on top.
For the spiderlings, paint on the brown beads and connect two pairs using the glue stick. Make two more so that you can create three pairs of those.
Using black construction paper cut out six small rectangular figures to look like spider legs. You can then attach these to the black beads.
To make the adult spider, cut out three black circles, then cut out a bigger rectangular figure for the legs.

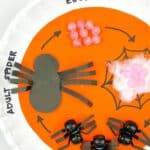
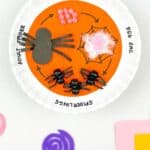
Finally, you can label the following life cycle parts and draw the arrows to complete the craft!
More Spider Activities
- Life Cycle of a Tarantula Worksheet
- Spider Science Activities for Preschoolers
- Spider Activities for Toddlers
- Spider Books for Toddlers
- Simple Spider Craft
- Elementary Spider Activities
- Paper Plate Spider Craft
- Movable Spider Craft by Easy Peasy and Fun
- Handprint Spider on a String by Fun Handprint Art

Spider Life Cycle Craft
Equipment
- Paper Plates
- DecorRack 300 Small Cotton Balls for Make-Up
- Apple Barrel Acrylic Paint, Black
Materials
- Acrylic paint Black
- Construction papers Orange and black
- Paintbrush
- Scissors
- Glue stick
- Marker
- Beads Pink and brown
- White cotton balls
- Paper plate
Instructions
- Get the orange construction paper and cut a circle shape for the background of the paper plate.
- On the upper portion of the paper plate, place pink beads.
- On the upper right corner of the plate, draw a spider web with a marker and attach the slightly shredded white cotton on top of it and place pink beads directly on top of the cotton.
- With the black acrylic paint, color the brown beads then connect two of the beads together using glue. Make three of those.
- To create the legs of the spiderlings, cut six rectangular figures using black construction paper. cut three vertical lines without meeting the ends and slightly fold in the middle and attach them to the black beads then place them on the lower part of the paper plate.
- Using black construction paper, cut three circles decreasing in size and cut out larger legs just like how we did on the last step. Assemble them to represent an adult spider and place it on the left side of the paper plate.
- Now that you have the diagram, complete it by labeling the parts! Enjoy learning about the spider life cycle craft!
Video
Notes
- Be careful of using scissors and paint.
- Choose the proper materials to achieve the aspired outcome.
- Let your creativity flow in your work!
As you can see, the spider’s life cycle craft is a great way for kids to learn how spiders grow. With the help of just construction paper, beads, and glue, this craft can foster lifelong memories of learning about arachnids, leading to a love of bugs later on!
At the end of it, your child will have an amazing craft that’ll look wonderful in their room or on a windowsill.

Hi, I’m Monique Boutsiv! I’ve been homeschooling for 18 years and have four children ranging from toddler to adult. I create science activities, educational printables and homeschool resources for preschool through elementary-aged children.
Today, Living Life and Learning includes more than 2,500 printable activities and educational resources to help parents and teachers spend less time planning and more time learning.
Follow along for new printable activities