
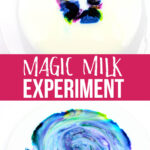
Cool Magic Milk Experiment You Have to Try


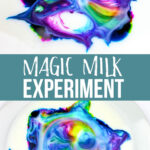


A good magic trick is fascinating. And this is one cool magic milk experiment you have to try. It’s a mind-blowing trick that will excite your kids and get them interested in learning more about magic, science, and art.
If you love this, you’ll enjoy my other simple homeschool science experiments.
I used simple household products to get this stunning effect. It’s so easy, but the results are amazing. This can be done relatively unsupervised if you wish, because none of the products are dangerous to kids.
I love seeing how it works just as much as the kids do. Plus, you have everything in your kitchen right now to get started.

This post may contain affiliate links meaning I get commissions for purchases made through links in this post. Read my disclosure policy here.
Why does STEM learning work?
STEM learning builds confidence through problem-solving and hands-on observation. It guides students to ask questions and try new approaches.
- It prepares kids for future learning. They laid a strong foundation for more advanced scientific work.
- STEM encourages active thinking. Kids get a chance to experiment and learn from the results.
- It supports creativity and logical thinking. Children explore real situations and make sense of what they see.
- STEM introduces practical skills. Young learners learn how actions cause reactions.
Recommended Science Experiment Books
Want more great science experiments with your kids? Check out some of our favorite science experiment books. And you can grab the instructions and materials list for this cool magic milk experiment below.
I enjoy simple science experiments that use household items that are easy to find. If you have any of these science books, you can plan ahead and gather the materials you need so you always have supplies ready to go for science.
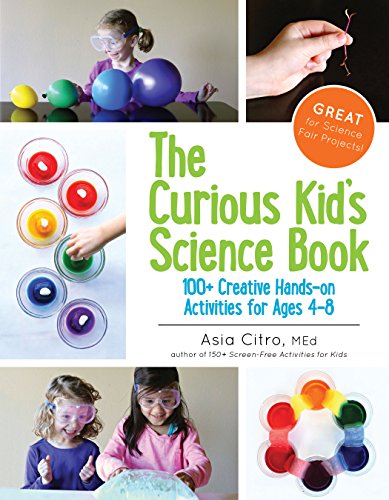
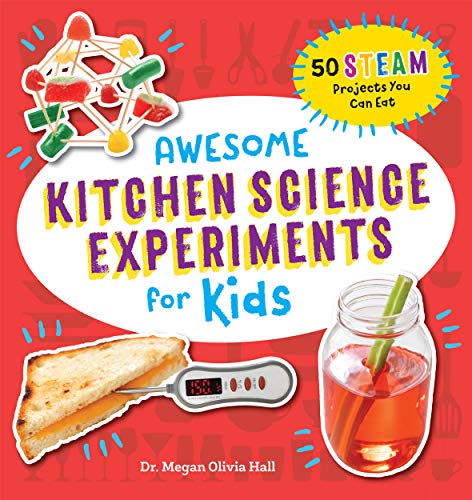
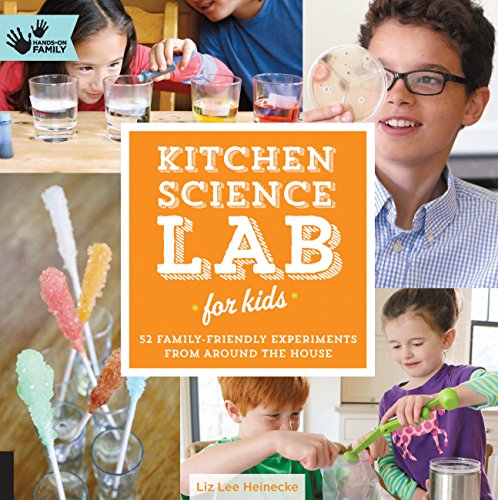
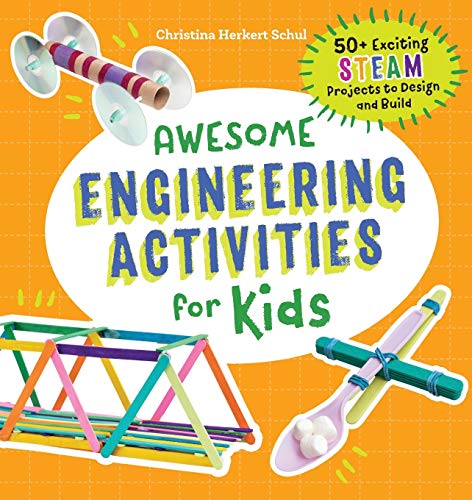
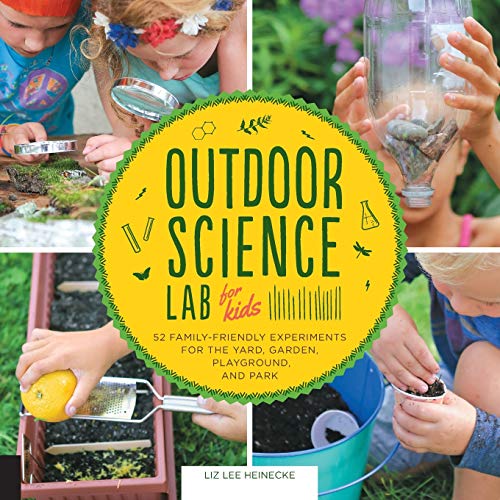
Awesome Physics Experiments for Kids: 40 Fun Science Projects and Why They Work (Awesome STEAM Activities for Kids)The Curious Kid’s Science Book: 100+ Creative Hands-On Activities for Ages 4-8Awesome Kitchen Science Experiments for Kids: 50 STEAM Projects You Can Eat! (Awesome STEAM Activities for Kids)Kitchen Science Lab for Kids: 52 Family Friendly Experiments from Around the House (Lab for Kids (4))Awesome Engineering Activities for Kids: 50+ Exciting STEAM Projects to Design and Build (Awesome STEAM Activities for Kids)Outdoor Science Lab for Kids: 52 Family-Friendly Experiments for the Yard, Garden, Playground, and Park


What skills do kids learn from this milk science activity?
This experiment gives young learners a chance to explore patterns and reactions in a relaxed setting.
- Observation skills. Kids pay attention to color movement and learn to describe changes.
- Early science reasoning. They begin to predict what might happen next and compare results.
- Patience and focus. The activity encourages kids to slow down and watch carefully.
- Fine motor coordination. They practice gentle movements while applying colors and using simple tools.
Recommended Science Experiment eBooks
If your kids enjoy hands-on learning, they may enjoy my recommended simple science experiments printables, volumes 1 and 2. Designed for kids in kindergarten through elementary grades, both sets include step-by-step instructions and guided worksheets to help kids explore real science at home.


If you want to save money, grab this bundle for these two amazing ebooks. Simple setup, clear instructions, and guaranteed eye-catching results.

The science behind this magic milk science activity
Milk may look simple, but it is a mix of water, fat, and proteins that respond strongly to soap. When food coloring first hits the surface, it mostly stays in place because surface tension holds everything in place.
Once the soap comes into contact with the milk, the reaction begins. The soap pulls at the fat and proteins, causing movement that sends the colors swirling as the milk and soap strive for balance. This lets kids watch a real chemical reaction in a calm and colorful way.
Recommended STEM Kits
Keeping the STEM excitement going throughout your child’s life is important – and encouraged! The more that they love learning, the more that their learning confidence grows!


What science topics are related to this activity?
This activity introduces simple chemistry ideas in a friendly, visual way.
- Surface tension. Kids learn how dish soap changes the way liquids behave.
- Color mixing. They observe how shades blend and separate.
- Chemical interactions. They see how soap reacts with milk and affects the motion.

Magic Milk Variations
Here are simple ways to change up the classic experiment and keep kids curious:
- Try different types of milk. Kids can observe how reactions vary.
- Use different color combinations. Kids can compare how warm and cool shades move.
- Create themed patterns for holidays or seasons. Try hearts, stars, or rainbow rows.
- Set cookie cutters on the plate before adding milk. The shapes guide movement in fun ways.

Magic Milk Activity Supplies
- Milk
- Liquid food coloring
- Dish soap
- Cotton swabs
- Dinner plate or shallow dish
- Small container
Doing the Color Mixing Milk Experiment
When I first shared this activity with my kids, they watched the colors swirl with complete amazement. My daughter tried different color patterns and compared the results. My older teens had already done it years ago, but they still stopped to look.

What I appreciated most was how easy it was to prepare. The kids stayed engaged as they explored color movement. It also gave us a chance to discuss reactions simply.
More Science Experiments
Did you love this simple science experiment? Try one of these other fun science activities to add some fun science experiments to your homeschool.
- Hovercraft Science Experiment
- Fizzy Rainbow Science Activity
- Grow a crystal rainbow
- Cool Pop Rocks Experiment
- Catapult STEM Activity with Popsicle Sticks
- Jello and Vinegar Experiment on Fun-a-Day
- Thunderstorm Science Experiment on Playing with Rain

Science at home does not need to feel complicated. With simple supplies and easy steps, this experiment brings color, curiosity, and learning to your day.

Simple Magic Milk Science Experiment
Equipment
- Cotton Swabs
- Dawn Dish Soap
- Watkins Assorted Food Coloring
Materials
- 1 1/2 cups of milk
- Liquid food coloring
- Dish soap
- Cotton swabs
- Dinner plate or shallow dish
- Small container
Instructions
- Pour about one tablespoon of dish soap into a small container.
- Pour milk onto a plate. (It’s ok if you see bubbles.)
- Drip a few drops of food coloring of choice in the center of the milk. You can get creative with where you drop the drops and space them out how you wish. (Note: Food coloring may spread out slightly as pictured.)
- Dip a cotton swab into the dish soap.
- Place the cotton swab in the middle of the colors and watch what happens! You should see the colors spread out towards the sides of the plate and change over time. You can repeat this step a few times.
Video
Notes
- Kids can take their cotton swabs and “draw” or “swirl” in the colors. Eventually, the colors mix until the milk becomes one color.
- If you allow the milk to sit a while before all colors are mixed entirely7, you can see the milk change in neat ways, as pictured here.
- Watch over time how different things look!
- When complete, dispose of milk in the sink.

Hi, I’m Monique Boutsiv! I’ve been homeschooling for 18 years and have four children ranging from toddler to adult. I create science activities, educational printables and homeschool resources for preschool through elementary-aged children.
Today, Living Life and Learning includes more than 2,500 printable activities and educational resources to help parents and teachers spend less time planning and more time learning.
Follow along for new printable activities