
Skeleton Bones Craft

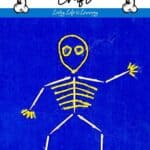
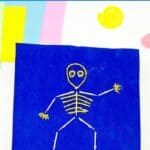
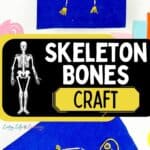
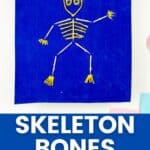
Studying the human body? This Skeleton Bones Craft is the perfect homeschool activity for your child! This craft encourages children to think critically and use their creativity to construct a unique skeleton design, piece by piece. Not only does it require concentration and attention to detail, but it also allows the kids to express themselves through art.
If you love this activity, check out these amazing Skeletal System Activities!
Moreover, this craft helps kids learn about anatomy and geometry as they determine which pieces fit in with each other best. Overall, this craft provides kids with a fun and informative art project that can be used independently or with siblings.
This post may contain affiliate links meaning I get commissions for purchases made through links in this post. Read my disclosure policy here.
Studying the Human Skeleton
Studying the human skeleton is an essential part of understanding our bodies and overall health which homeschooling kids can benefit from. By learning about the structure and function of the skeleton, kids gain an appreciation for how complex and diverse our bodies are.
Additionally, exploring the bones empowers kids with a greater understanding of physical activity and how movement works. With enough practice, your child may even be able to assemble an entire model of a human skeleton!
It’s also important to note that there are many resources available online that homeschoolers can access when studying our bones so they always have fun activities to do at home such as this Skeleton Bones Craft that is specially made for you and your kids to enjoy learning!
Want even more ideas to add to your human body lessons? See this list of human body activities for kids.
Recommended Skeleton Books for Kids
Grab a couple of these books for your little one to have a good grasp of the skeletal system – perfect for your homeschool science lesson.
The Skeleton Book: Get to Know Your Bones, Inside OutSkeleton HiccupsBones: Skeletons and How They WorkGive Me Back My Bones!Halloween HustleMy Amazing Bones and Skeleton: A Book About Body Parts & Growing Strong For Kids

Recommended Skeleton Activity Worksheets for Kids
Let your kids have an amazing playtime with this X-ray Pretend Play Pack. This 16 pages play pack includes X-rays of different parts of the body, clinic signages and labels, patient charts, and more to let them have the most awesome pretend X-ray clinic!
Human Bones Anatomy Coloring Book
If you’re searching for a way to get your kids to learn the human bone anatomy, this is the perfect activity for you! As the kids color the different parts, they’ll surely enjoy and learn a lot.
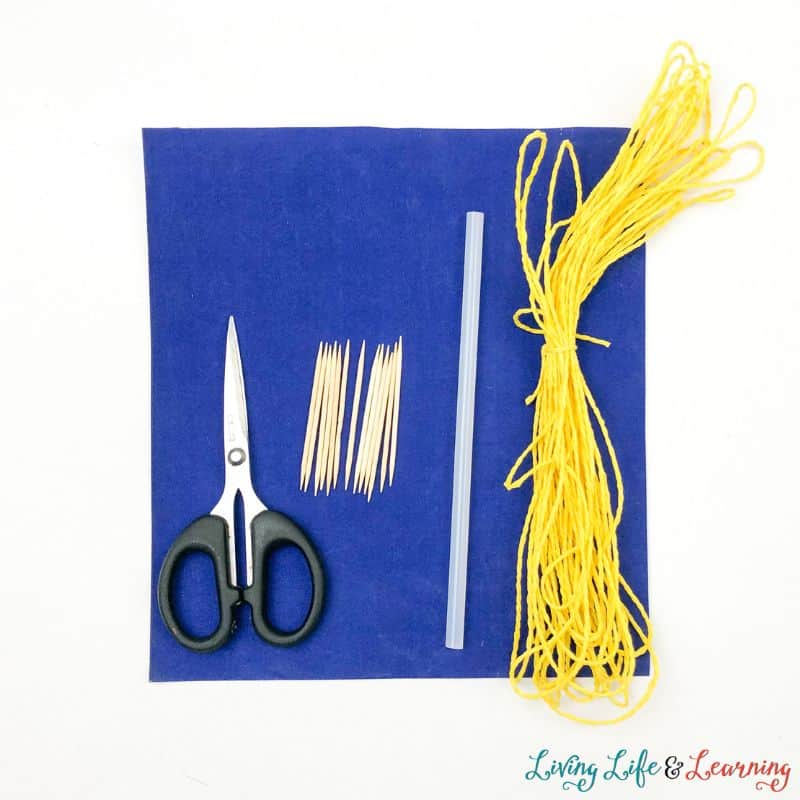
Skeleton Bones Craft Materials
- Toothpick
- Abaca Twine
- Scissors
- Glue Stick
- Matte Paper
Recommended Skeleton Activity Kits
Toys are a great way for kids to learn and gain valuable skills! Not only do toys provide fun and entertainment, but they can also foster creativity, development of motor skills, and encourage imaginative play.
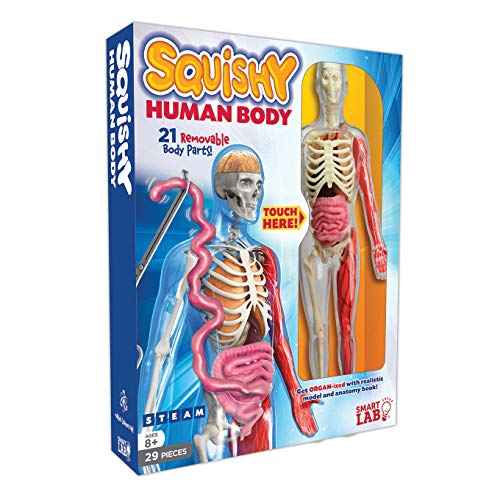
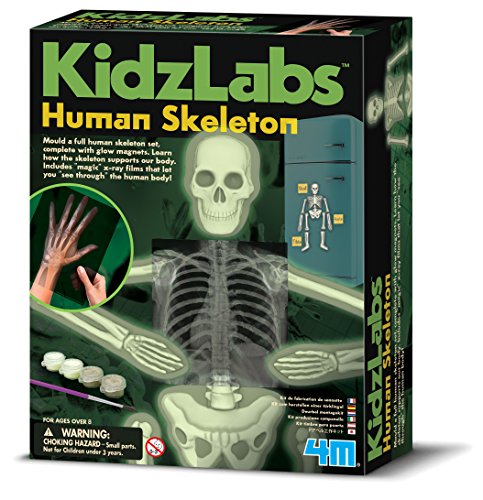
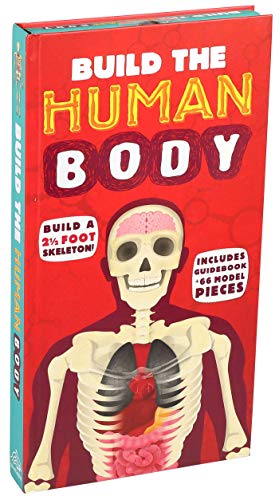
When it comes to helping kids learn, there is nothing more important than doing hands-on activities. Other than this Skeleton Bones Craft, also try out these skeleton activity kits for more fun learning!
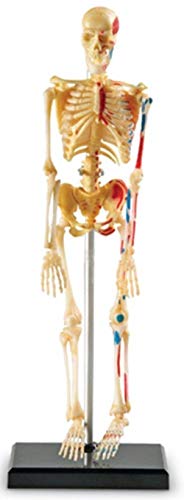
Halloween Skeletons, Halloween Decorations Skull 16SmartLab Toys Squishy Human Body, Multicolor, Standard4M Glow Human Skeleton Science KitBuild the Human BodyLearning Resources Skeleton Model, Miniature Model, Easy to Manipulate, 41-Piece Model, Ages 8+ Multi-color, 9.2 inches tallKids Halloween Skeleton Costumes Glow in The Dark White Bones Stretch Body Suit for Boys Girls

Skeleton Bones Craft
Are you ready to try this Skeleton Bones Craft with your kids now? They’ll definitely have a blast making it and will make learning unforgettable.
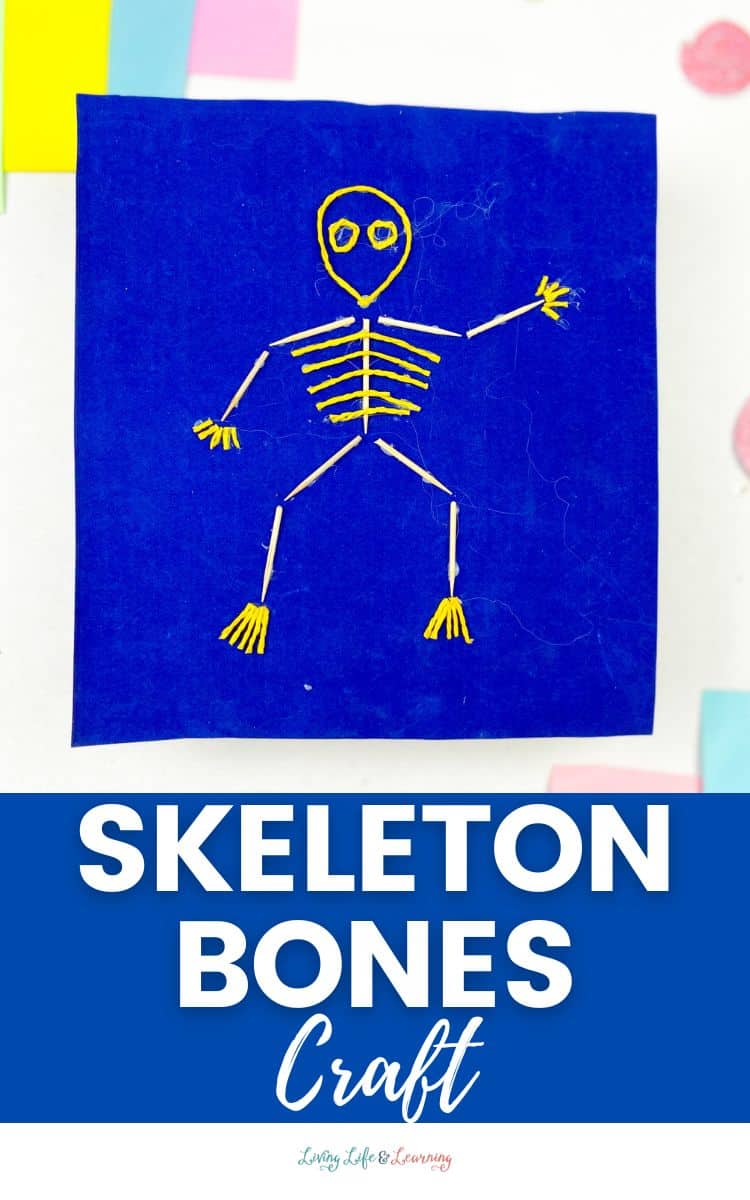
Let’s start! The yellow abaca twine should be cut into small pieces and cut the toothpicks in half.
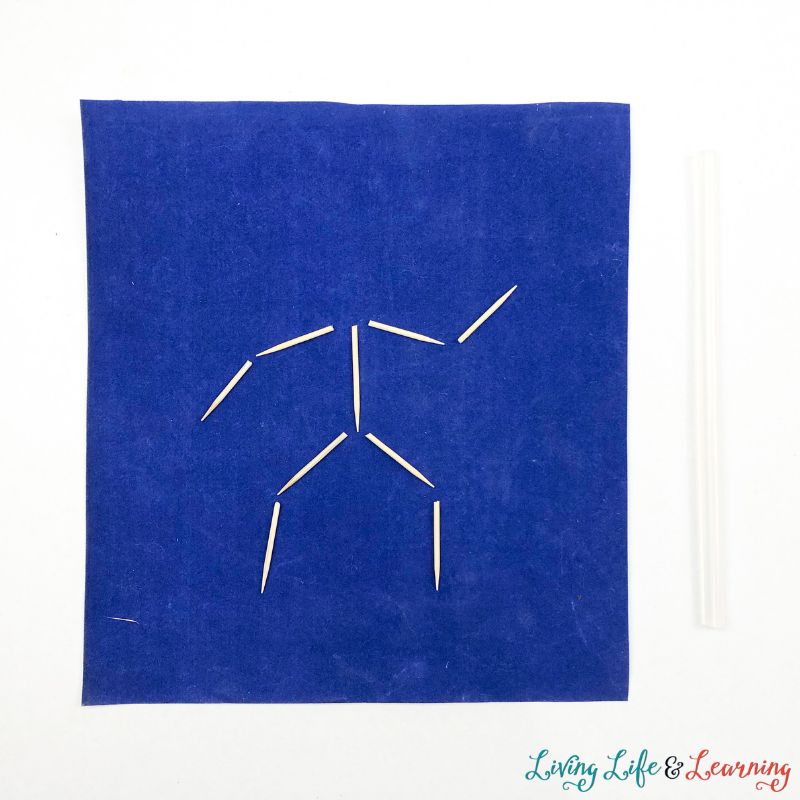
Now, there should be three toothpicks similar to the way the craft guide looks to create the middle part of the body. Once done, put four toothpicks for the arms and hands and two toothpicks for the feet.
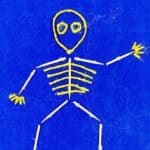
Using the cut twine, create the skeleton’s ribs. After creating the ribs, use the twine again for the skeleton’s skull just like shown below.
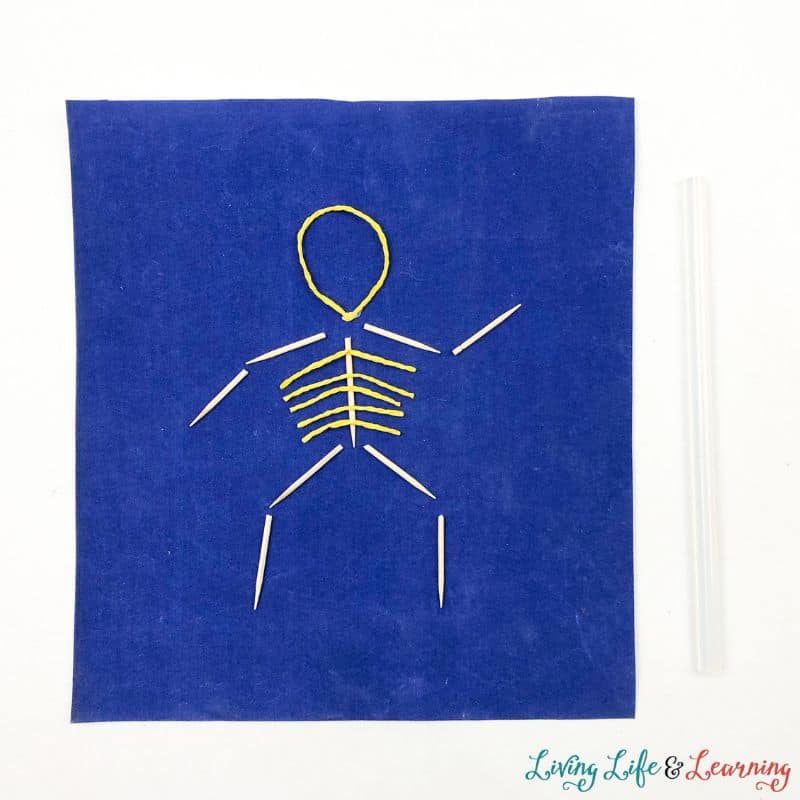
Create the fingers for both the hands and feet of the skeleton and make the eyes using also the twine.
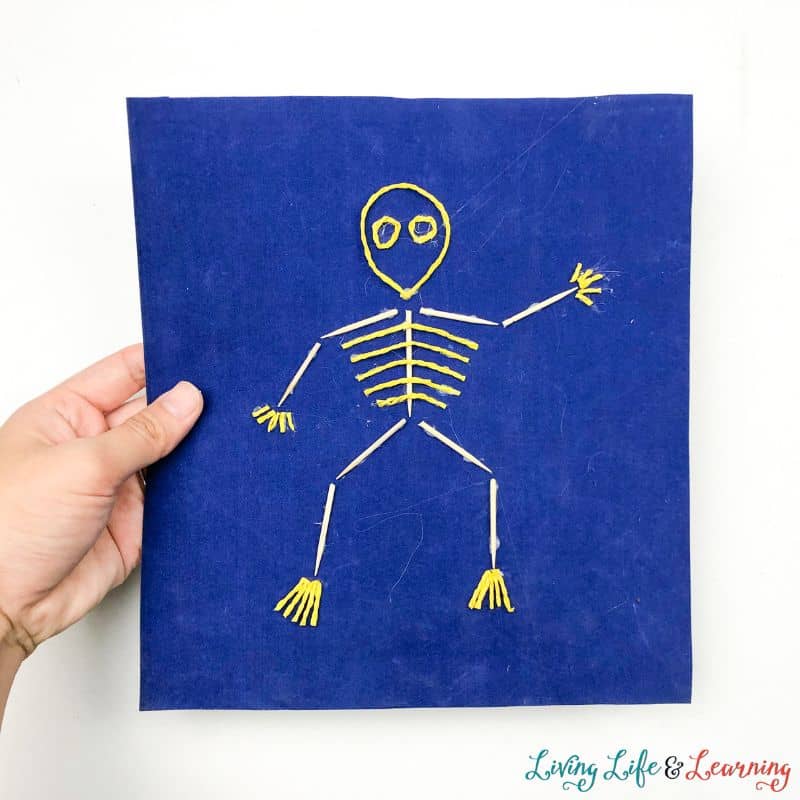
Thats it! You are now done making your Skeleton Bones Craft.

Skeleton Bones Craft
Equipment
- Bamboo Toothpicks
- Cotton Baker Twine DIY Craft (Yellow)
- JAM PAPER Ledger Matte (Blue)
Materials
- Toothpick
- Abaca Twine Yellow
- Scissors
- Glue Stick
- Matte Paper Blue
Instructions
- For the first step, get your yellow abaca twine and cut it into small sizes.
- Once done, the toothpicks should be cut in half.
- Create the middle part of the body by placing one toothpick straight as the torso and two more toothpicks at the bottom as the thighs.
- For the feet and arms, put six more toothpicks. Two at the bottom part of the thighs and four beside the torso.
- Now get the abaca twines you cut earlier and create the ribs by placing them horizontally above the middle toothpick. Create the skull too by forming a circular shape with the abaca twine.
- Also, use the abaca twines and cut them into small pieces that will act as the fingers for both the feet and hands.
- Lastly, create the eyes by creating two small circles and placing them inside the skull.
Video
Notes
2. Choose the proper materials to achieve the aspired outcome.
3. Let your creativity flow in your work!
Whether you’re creating mini skeleton models or turning everyday objects into bones, the projects are endless when it comes to crafting projects involving skeletons!
Not only can kids have fun assembling their own skeletons, but they’ll also be learning hands-on science concepts while they do it.
The next time you’re looking for a creative activity the whole family can enjoy, set up your own craft day and explore the wonders of skeleton bones craft!
More Skeleton Activities
Skeleton Activities for Elementary Students
Skeletal System for Kids by The Natural Homeschool
Rigid versus Flexible Bone Activity by Tina’s Dynamic Homeschool Plus

Hi, I’m Monique Boutsiv! I’ve been homeschooling for 18 years and have four children ranging from toddler to adult. I create science activities, educational printables and homeschool resources for preschool through elementary-aged children.
Today, Living Life and Learning includes more than 2,500 printable activities and educational resources to help parents and teachers spend less time planning and more time learning.
Follow along for new printable activities