
DIY Galaxy Ornaments Your Kids Will Love


A fun and memorable family tradition is to create holiday ornaments. Parents treasure those handcrafted decorations, and they bring back fond memories every year. These DIY galaxy ornaments are not only gorgeous ornaments to make, but a great way to build those family traditions too!
Do you want more ideas like this? Check out my list of fun and easy DIY Ornaments for Kids!

If you want your kids to have more fun while learning this Christmas season, you have to try these awesome Christmas Activities for Kids.
This post may contain affiliate links meaning I get commissions for purchases made through links in this post. Read my disclosure policy here.
Where did the tradition come from?
The tradition of bringing home an evergreen tree and decorating it, the way we do today, is traced back to Germany in the 16th century. While people around the world have been using evergreen plants to decorate homes in winter, the story is that the first Christmas tree idea belonged to Martin Luther, a 16th-century priest.
Holiday trees were popularized in the 1800s, and brought to North America with German settlers. And when Queen Victoria’s Christmas pictures were released featuring a Christmas tree, they were an instant hit.
Today, evergreen trees destined for homes every holiday season are grown around the world, including all 50 states of the US. Yes, that means Christmas trees are grown in Hawaii too!
Related: Fun Homeschool Activities You Have to Try
Decorate your holiday tree
So whether you have a Fraser Fir, Scotch Pine, Balsam Fir, or White Pine, you’re in good company with millions of other people around the world. People in countries as far away as the Philippines or Japan will decorate trees to celebrate winter holidays, even if they don’t celebrate the Christian traditional holiday.
Brightly colored balls, stars, lights, candles, and sparkly tinsel are commonly used to decorate the trees. Whether your ornaments are homemade or store-bought, a decorated tree is always beautiful and a special part of many families’ holiday traditions.
>> See more fun holiday homeschool activities
Homeschooling Through the Holidays on the Go
Live or artificial?
The majority of live trees are grown on farms specifically for the holidays. It takes 3-7 years for a tree to mature enough to sell, making Christmas trees a renewable resource. Artificial trees are also very popular, with their ease of clean up and care. But no matter what you choose, these DIY galaxy ornaments will be a fantastic addition to your decorations.
Recommended Christmas Books
Celebrate the holidays and infuse the Christmas spirit into your homeschool with any of these memorable Christmas books.
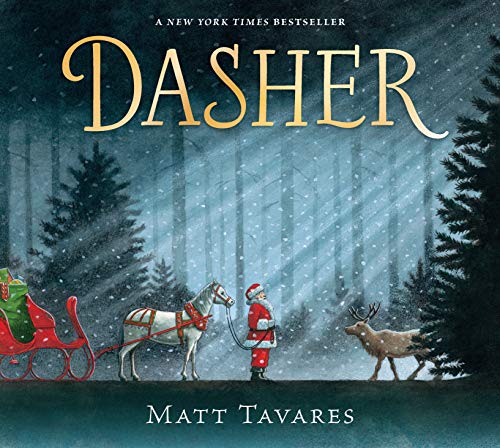
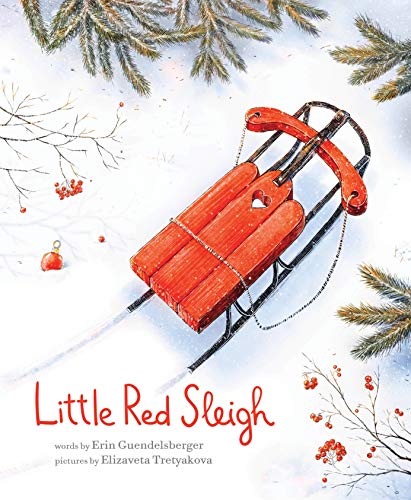
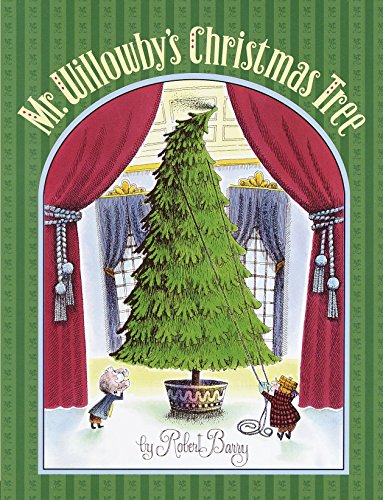
Dasher: How a Brave Little Doe Changed Christmas ForeverLittle Red Sleigh: A Heartwarming Christmas Book For ChildrenMr. Willowby’s Christmas TreeThe Best Christmas Pageant EverA Gift to RememberCranberry Christmas (Cranberryport)

Getting supplies for your DIY Galaxy Ornaments
Luckily, getting clear plastic balls isn’t actually that difficult this time of year. You should be able to find the clear plastic ornament balls you need at any store that sells holiday decorations. You’ll need the ones with removable tops so that you can access the inside of the ball.
You’ll also need a selection of paint: blues, blacks, silver or grey. Maybe a little white, dark purple, or dark green too? This activity works best with glittery paint, but you can also add some glitter to your paint as well.
You’ll also need some star stickers or glittery sticker paper that you can cut stars out of. For easy cleanup, you’ll want disposable cups and something to cover your workspace. And for hanging, you’ll need ornament hangers, wire, or ribbon of some kind.
Recommended Christmas Craft Kits
Here are some more fun arts and crafts activities your kids will love! Grab these Holiday-themed craft kits and feel the spirit of Christmas while being creative with your little one.
The Treemendous Ornament Decorator – Christmas Tree Ornament Decorating Kit & 6 Pack Ornament Combo Pack – Holiday Arts and Crafts Activity for KidsCoola Christmas Crafts Kit for Kids – Toy and Decorations Including 6 Snowman Angel Dog Penguin Redindeer Santa Claus DIY Activity Christmas GiftCreativity for Kids Easy Sparkle Window Art Craft Kit – Christmas and Holiday ActivitiesSnowman Making Kit for Kids – Build a Snow Man Craft Kits Winter Christmas Crafts Activities Stocking StuffersSkillmatics Art & Craft Activity – Foil Fun Holiday Magic, No Mess Art for Kids, Christmas Craft Kits & Supplies, DIY Creative Activity, Gifts, Stocking StufferDIY Crystal Paint Arts and Crafts Set, Bake-Free Crystal Color Glue Painted Pendant Toy, Christmas Gift for Children (Santa Claus)
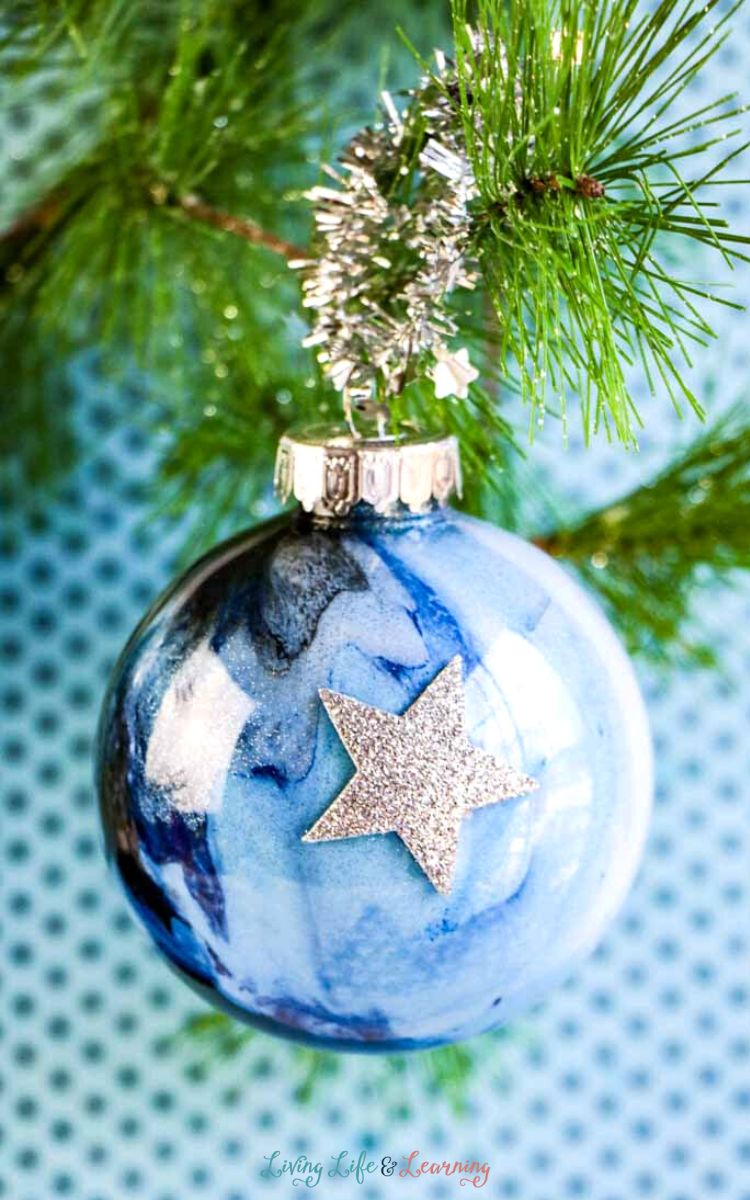
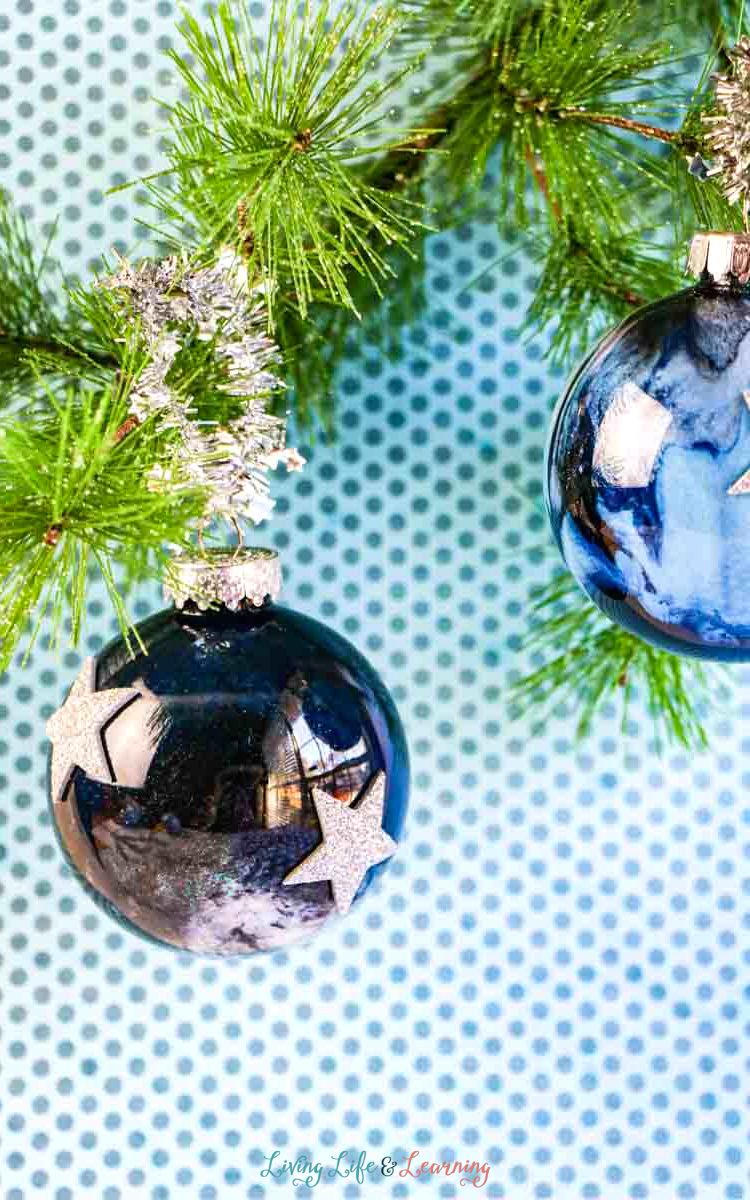
The basis of these DIY galaxy ornaments is putting a small amount of paint inside the ornament and letting it coat the surface. It’s really quite simple, but smaller children may need some help to get the paint all over the inside. But the effect is amazing when it all dries. Depending on how the colors dry, you should get an almost iridescent effect, making it look like you’re staring into the depths of space.
DIY Galaxy Ornaments Supplies
- Disposable cups
- Clear plastic ornament balls
- Acrylic paint
- Glitter (optional)
- Star stickers or glitter sticker paper
- Ornament hangers or ribbon
What you do:
Take off the tops from the plastic balls. Add glitter and your desired colors of paint inside the balls. Turn it until the inside is fully coated.
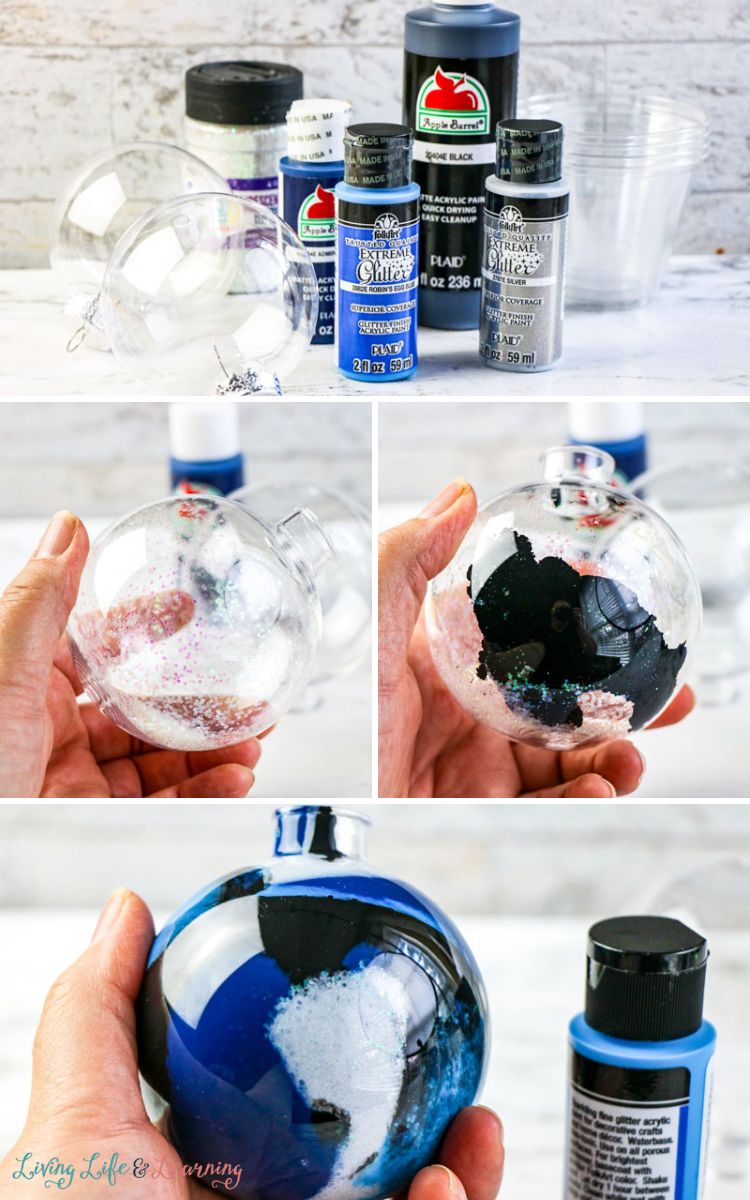
Get a disposable cup and place the plastic ball upside down on it. Let the excess paint run out overnight. Once done, turn it upright and wait for the paint to dry completely.
Place the top back on the plastic ball and decorate it with stickers and ribbons.

That’s it! You now have an adorable ornament for your Christmas tree.


DIY Galaxy Ornaments
Equipment
- 1000 Pack, Gold Foil Star Metallic Stickers, 0.6″ Diameter
- Clear Plastic Fillable Ornament Ball
Materials
- Small disposable cups sturdy enough to support the ornament
- Clear plastic ornament balls with removable tops
- Acrylic paint – Suggested colors: dark blue black, grey/silver, dark purple, dark green (paint with glitter already included work best!)
- Glitter optional – silver, dark blue, dark green, purple
- Star stickers or glitter sticker paper to cut your own
- Ornament hangers or ribbon for hanging
Instructions
- Take off the tops from your clear plastic balls. Set aside for later.
- If you're using glitter, add a small spoonful into the ornament ball, approximately 1 tsp.
- Slowly pour a small amount of paint into the ball. It doesn't matter which color you start with.
- Turn the ball slightly and add a second color.
- Repeat steps 3 & 4, until all the colors you want to use are in the ornament ball.
- Turn and twist the clear plastic ball carefully, until the ball is completely coated on the inside, and you can no longer see through it. Add more paint if you need to!
- Turn it upside down in a disposable cup, so that the excess paint runs out. Leave it overnight.
- Turn it back over so that the hole faces up, and allow it to dry thoroughly — approximately another 24 hours.
- Replace the hanging top, and ornament hanger or ribbon.
- Add stickers to the ball, as a final touch.
Creating these galaxy ornaments is a fantastic way to engage children in a fun and educational activity. Not only do these ornaments add a touch of magic to your holiday decorations, but they also provide an opportunity for children to explore their creativity.
So, gather your supplies, let your creativity soar, and enjoy the joy and wonder that DIY Galaxy Ornaments can bring to your holiday season. Happy crafting!
More Christmas Activities
Christmas Lego Challenge Calendar
Christmas STEM Challenge Cards
Melted Crayon Christmas Ornaments by Homeschool Preschool
Reindeer Clay Pot Ornament by Darcy and Brian