
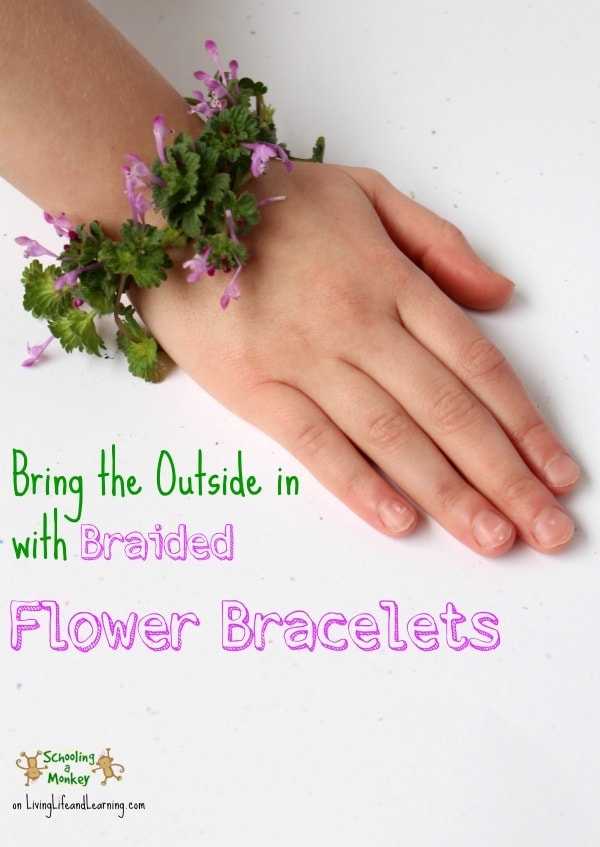
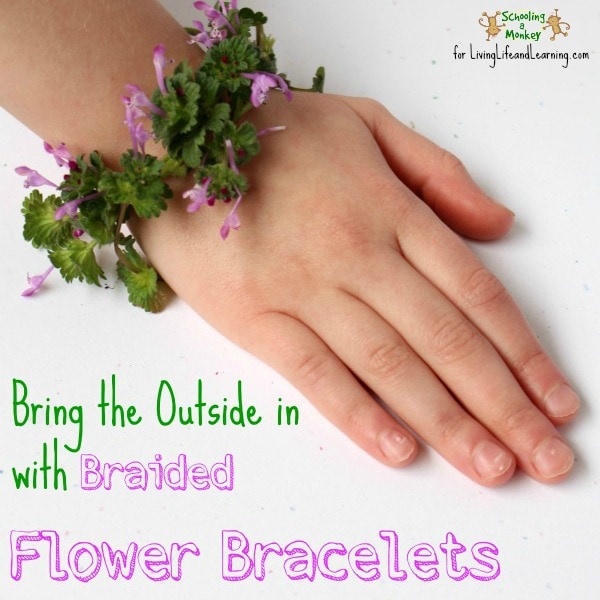
How to Create Braided Flower Bracelets

Braided flower bracelets are a fun way to encourage creativity and also creating beautiful crafts that are wearable, too. The kids will love being able to use flowers found around the area to create these beautiful bracelets!
Living in Texas, we get spring much earlier than the rest of the world. We love to make lots of spring crafts to celebrate the turn of the season.
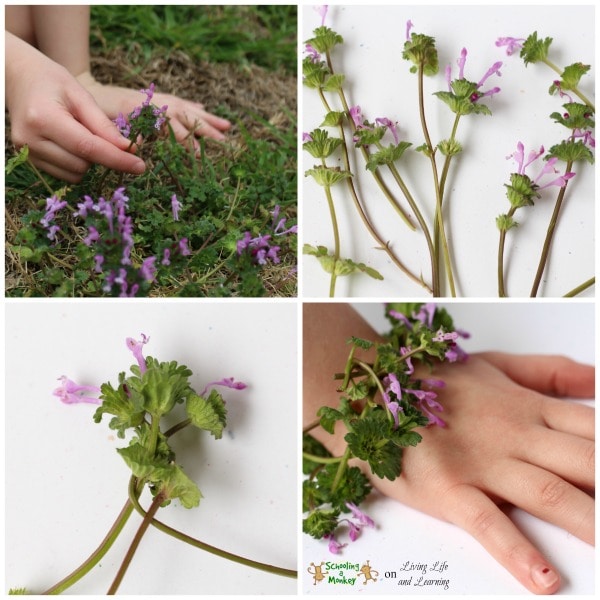
Even though March has barely begun, we are already flooded with wildflowers! One of the first signs of spring in Texas is these little purple flowers. They pop up along with the dandelions in early spring. When these flowers emerge, you know spring is on its way soon!
If you’re looking for a natural spring craft with a lot of oomph, you’ll love these braided flower bracelets made from wildflowers!
If you love this activity, see more fun flower activities for kids.
This post may contain affiliate links meaning I get commissions for purchases made through links in this post. Read my disclosure policy here.
Recommended Flower Books for Kids
Discover more about seeds, weeds, and how flowers grow with these amazing flower books. Your kids will love the visuals and explore what flowers look like inside and how important they are to us.
Trees, Leaves, Flowers and Seeds: A Visual Encyclopedia of the Plant Kingdom (Smithsonian)I Can Grow a Flower (Life Cycle Board Books)A Weed Is a Flower: The Life of George Washington CarverMagical Secret Garden (Flower Fairies)The Reason for a Flower: A Book About Flowers, Pollen, and Seeds (Explore!)Planting a Rainbow

Braided Flower Bracelets Supplies
- Scissors

- Wildflowers
When it comes to a fun craft, this is the one! Getting the kids outdoors and having them explore and find flowers in nature is a fun and easy process. In fact, it’s one that they’ll love doing and will be able to do over and over again.
Make certain to check out our Fun Spring Activities for Kids as well!
Recommended Spring Printables
By using these activity kits, your kids will grow to have more interest in and appreciation for flowers and enjoy springtime.
Try grabbing one of these items for your kids, and see how they will love working with flowers!
Little Learners Print & Go Activity Kit: Spring
The learning never stops, even in spring! Make learning more enjoyable with these learning activities, from math worksheets to alphabet puzzles, I guarantee that your kids will ask for more.
Spring Color by Addition Worksheets
If your kids need help practicing addition facts, grab these super cool Spring color by number addition worksheets!
How to Make Braided Flower Bracelets
Follow these simple steps to make your own braided flower bracelets! Use whatever wildflowers are local to you. The longer the stem the better. Dandelions work great for this craft project.
Making the braided flower bracelet is the easiest thing in the world. All you need is a field of wildflowers (or your yard, if you have grass as we do), some scissors, and a bit of time.
Pick flowers that have the longest stems you can find. This will make your final bracelet hold together better. You will need about a dozen flowers per bracelet, so if you have multiple kids make sure to pick plenty!
Recommended Flower Craft Kits
If your child is into arts and crafts, you’ll love these flower craft kits that will help them enhance their creativity and fine motor skills.
Melissa & Doug Created By Me! Paint & Decorate Your Own Wooden Magnets Craft Kit – Butterflies, Hearts, Flowers – Kids Craft Kits, Great Activity For Rainy Days And Party Favors, Ages 4+24 Packs Flower Craft Kits for Kids Spring Time Flower DIY Art Craft Set Home Preschool Classroom Game Activities Spring Easter Party DecorsFlower Ornament Craft Kits (Makes 12) Spring Crafts for Kids and Fun Home ActivitiesAyfjovs Foam Flower Craft Kit 12 Pack DIY Spring Crafts for Kids, Flower Recipe or Picture Holder Craft with Instructions for Mother’s Day Decorations Kid’s Home School Fun ActivitiesSTEM Toddler Toys for Age 3 4 5 6 Year Old Girls – Flower Garden Building Toys for Preschool Educational Activity, Birthday Gifts and Stacking Learning Playset, Floral Gardening Pretend kit (150pcs)Baker Ross AR264 Wooden Flower Blanks for Kids – Pack of 4, Woodcraft Painting Craft Kits for Kids Art Activities


Step 1:
Use the scissors to cut off any leaves from the stems, leaving just the flowers and the stem.
Step 2:
Take three flowers and hold them in your hand by the stems just below the flowers. Start a braid just like you would if braiding hair. Braid about three or four times, then add another flower to one side. Braid two or three more times then add a flower to the opposite side of the braid. As you braid, keep adding more flowers to not only make the bracelet pretty but also so you can keep braiding until the bracelet is long enough to wrap around a wrist.
Step 3:
Once your bracelet is long enough, wrap it around your child’s wrist. Intertwine the ends of the last stems with the head of the original flowers bu tucking the stems into the first part of the braid to complete the circle. Your bracelet is finished!
Once you tire of wearing your braided flower bracelets, press them between two sheets of paper and some books to create beautiful pressed flowers (or use a flower press)
that you can use for other craft projects.
More Spring Activities
Spring Books for Elementary Students
Spring Activities for Elementary Students
Mother’s Day Crafts for Kindergarten
Sunflower Books for Preschoolers
Hands-On Preschool Measurement Activities for Spring by Homeschool Preschool
Free Spring Theme Prewriting Printable by 3 Dinosaurs