Homeschooling On The Go – How to Take Your Own Passport Photos

This post may contain affiliate links meaning I get commissions for purchases made through links in this post. Read my disclosure policy here.
Homeschooling On The Go – How to Take Your Own Passport Photos
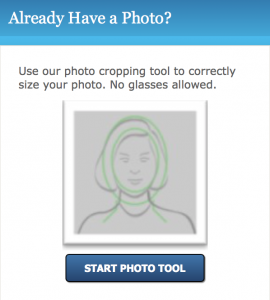
I could have easily gone to the 1-Hour lab and had their images taken but I was too tempted to try it myself. I have been wanting to take my own passport photos for a while now. So what did I do? From my photography days, I still have backdrops. I used the backside of one for the “white background” that is required by the State Department to have. If you don’t have a backdrop, use a white wall in your house. No white wall? Use a large, white poster board. Use a well-lit room in your house and have the subject face the direction of the sun. It will give an even exposure on their face. The image size has to be 2″ x 2″ for the application. There are even more stipulations to that image but if you center your subject in the middle with some blank white space to frame their face – you will be good. I use Photoshop but I know you can use GIMP (free software) as well. I opened up the image and resized the large file to 4×6. Then I took the crop tool and pulled the corner until the measurement said 2.00″ x 2.00″. I centered their heads in the middle and left a “border” around the inside of the image. You can also upload your image into the U.S. State Department Photo Composition Template.
To be honest, I wasn’t sure if this was even going to work. I have a small Canon Selphy Wireless Color Photo Printer
