
Thumbprint Skeleton Craft

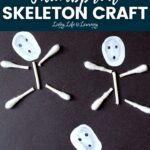
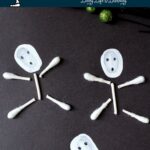
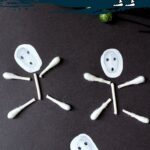
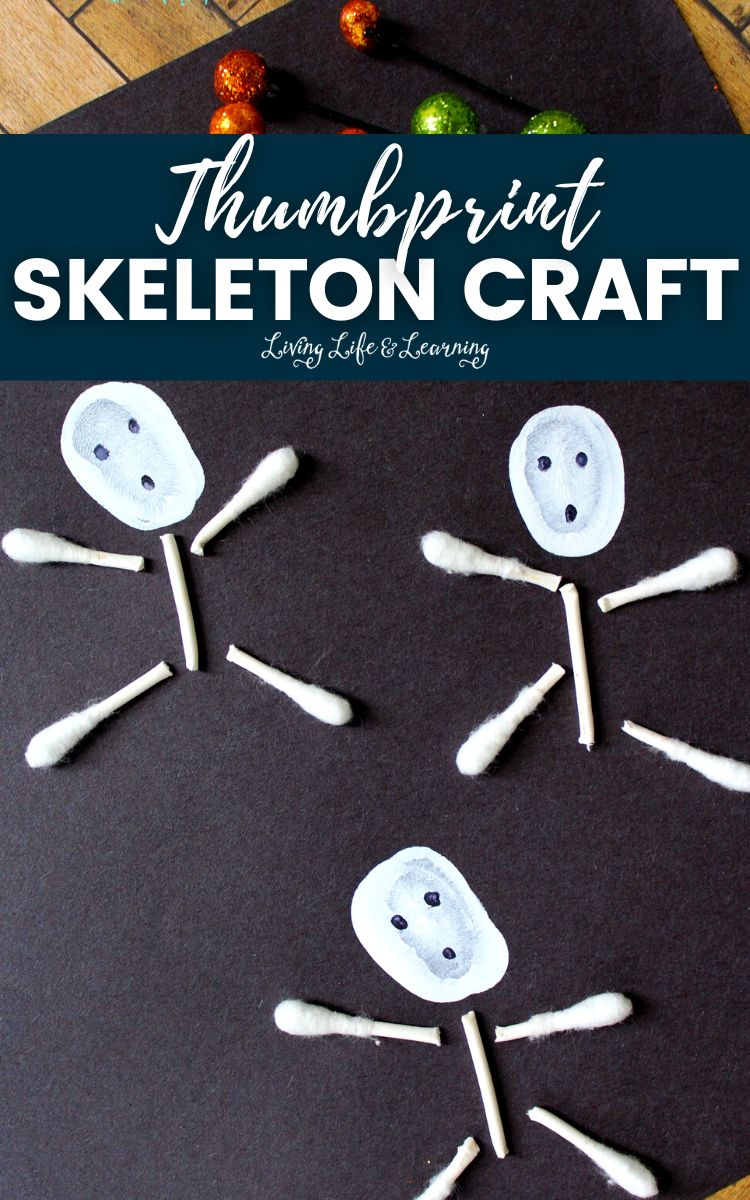
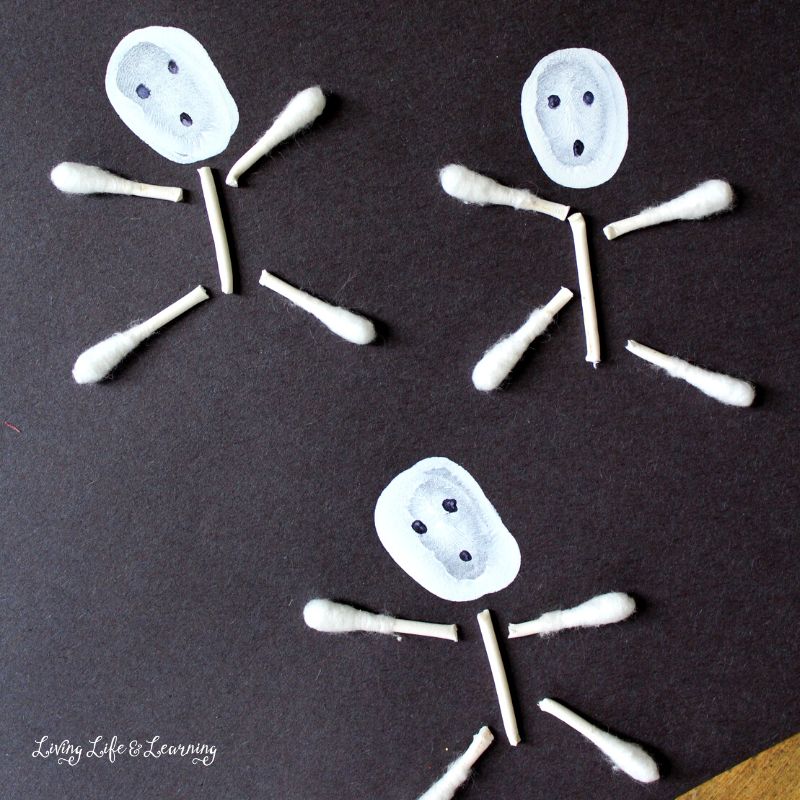
Want a simple skeleton craft that doesn’t require a long list of supplies? This thumbprint skeleton craft uses white paint for the head and pieces of cotton swabs for the bones.
You can make it as a Halloween craft or add it to a lesson about bones and the human body. If you’re studying anatomy, you can also explore these Skeletal System Activities for more ideas.
I’m the least crafty parent out there, so I appreciate projects that are easy to set up. This one doesn’t require full-on finger painting either. Your child only needs a thumb in the paint, which can make things a little less messy.
This post may contain affiliate links meaning I get commissions for purchases made through links in this post. Read my disclosure policy here.
What Will Kids Learn From This Skeleton Craft?
This craft gives kids a simple hands-on way to think about the basic shape of the human skeleton while working on fine motor skills.
Children can look at where their arms, legs, head, and body are located and use the cotton swab pieces to create their own skeleton.
This isn’t meant to be an anatomically detailed model. Instead, it’s an easy starting point for talking about the skeletal system and noticing how bones give our bodies structure.
You can continue your human body lessons with these human body arts and crafts.
What Supplies Are Needed for a Thumbprint Skeleton Craft?
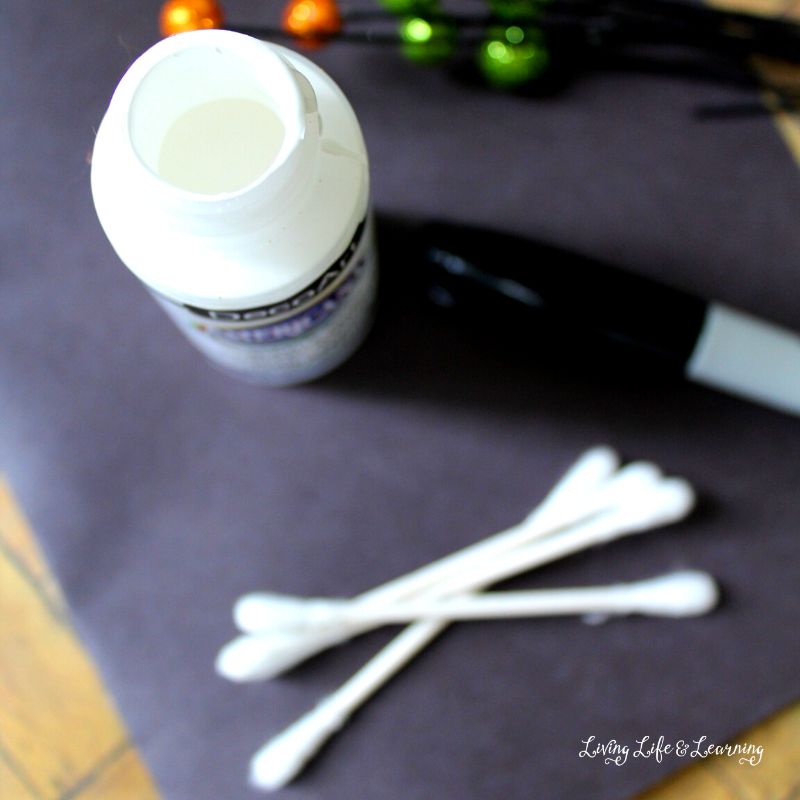
You only need a few basic craft supplies to make your skeletons.
- Black construction paper
- Cotton swabs
- White craft paint
- Black marker
- Scissors
- Craft glue
Adult help may be needed when cutting the cotton swabs.
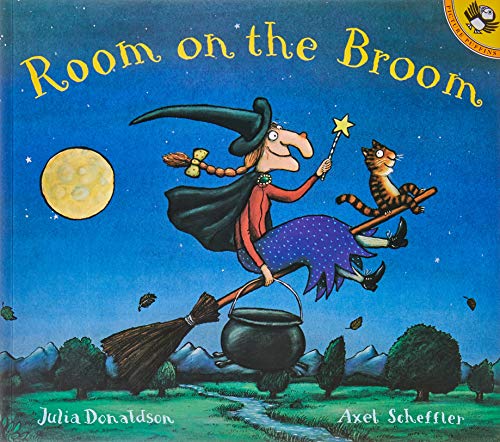
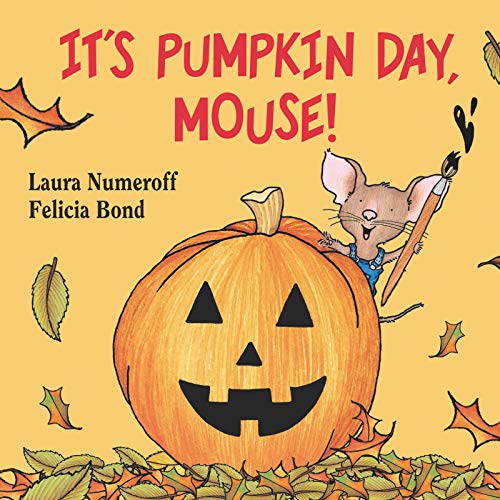
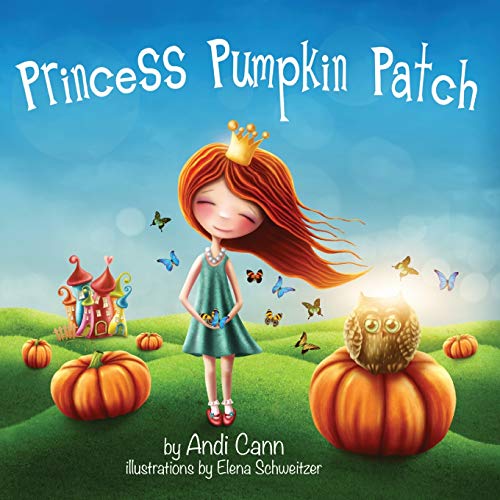
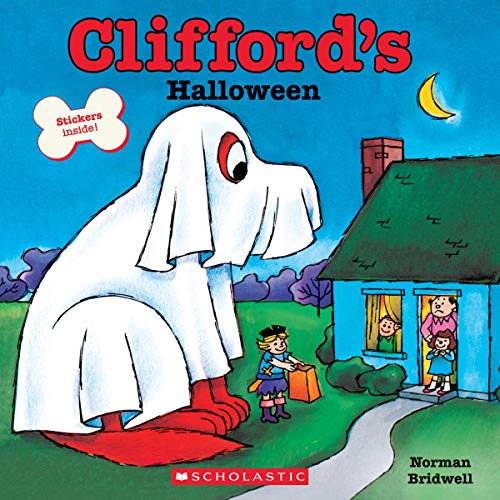
Recommended Halloween Books
Halloween books are an easy way to add a little seasonal reading to your day. Whether your child likes silly Halloween stories, familiar characters, or pumpkin-themed books, you can choose a few that fit their interests without making Halloween feel too spooky.
Keep a few favorites nearby to enjoy throughout October, especially when you want a quieter activity between crafts and other Halloween fun.
The Berenstain Bears Trick or Treat (First Time Books)Room on the BroomPete the Cat: Trick or PeteIt’s Pumpkin Day, Mouse! (If You Give…)Princess Pumpkin PatchClifford’s Halloween (Classic Storybook)

How Do You Make a Thumbprint Skeleton?
Start by dipping a thumb into the white paint.
Press the painted thumb onto the black construction paper to make the skeleton’s head. Repeat if you’d like to make several skeletons.
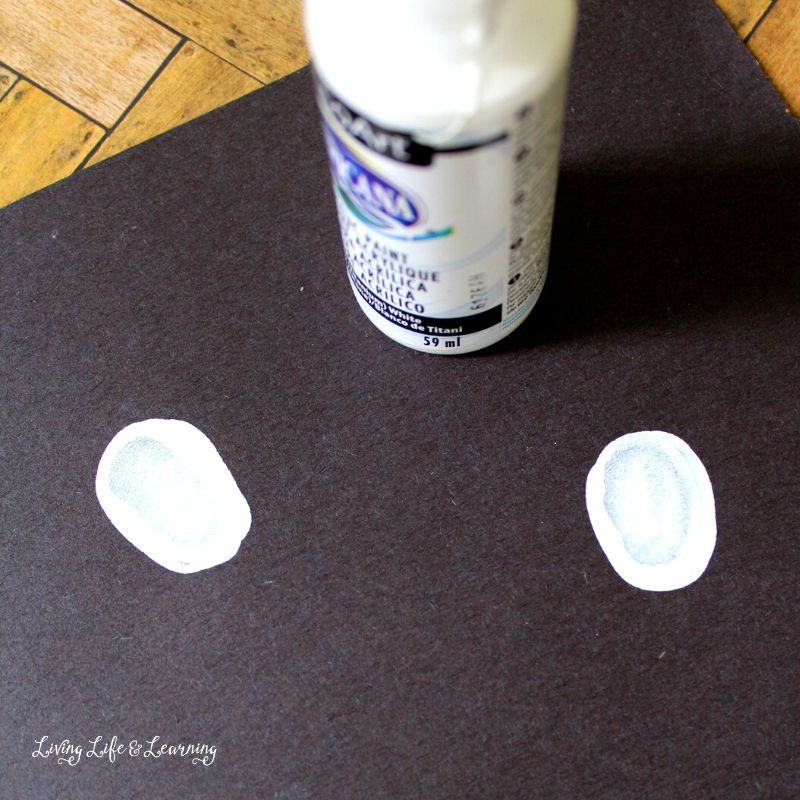
Let the paint dry thoroughly before adding the face.
While you’re waiting, cut the cotton swabs into smaller segments. These pieces will become the skeleton’s body, arms, and legs.
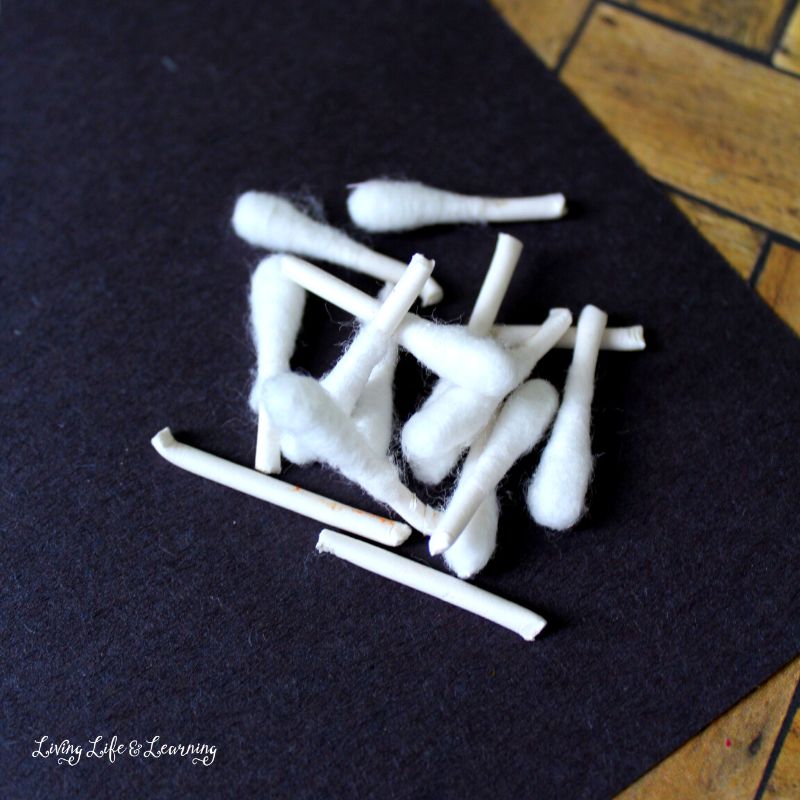
Add a small amount of glue to the back of each cotton swab piece and arrange them underneath the thumbprint. The original craft uses about five cotton swab pieces for each skeleton body.
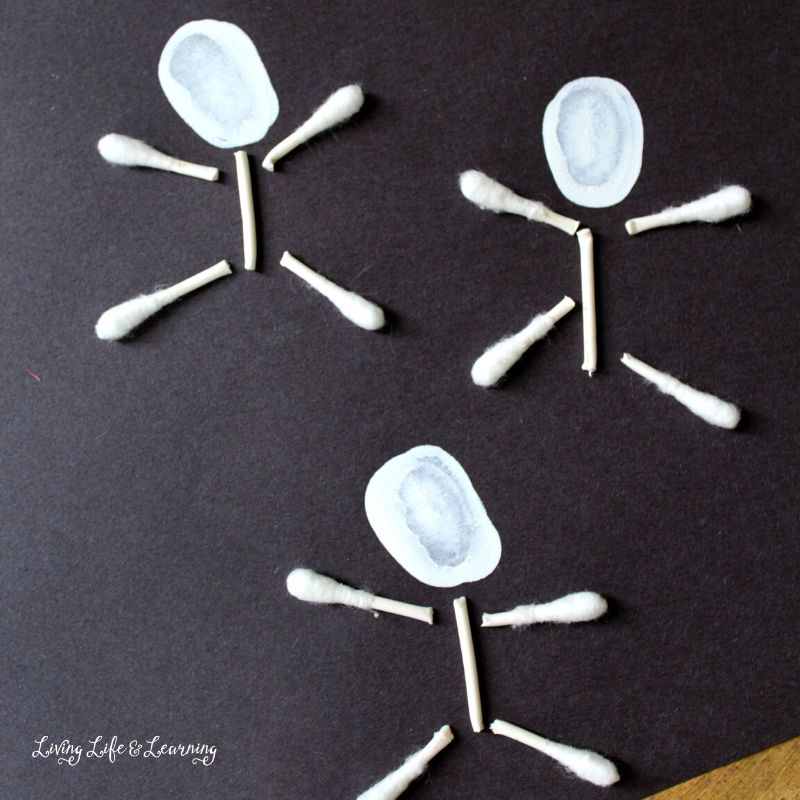
Once everything is glued in place, use a black marker to draw eyes and a mouth on each thumbprint.
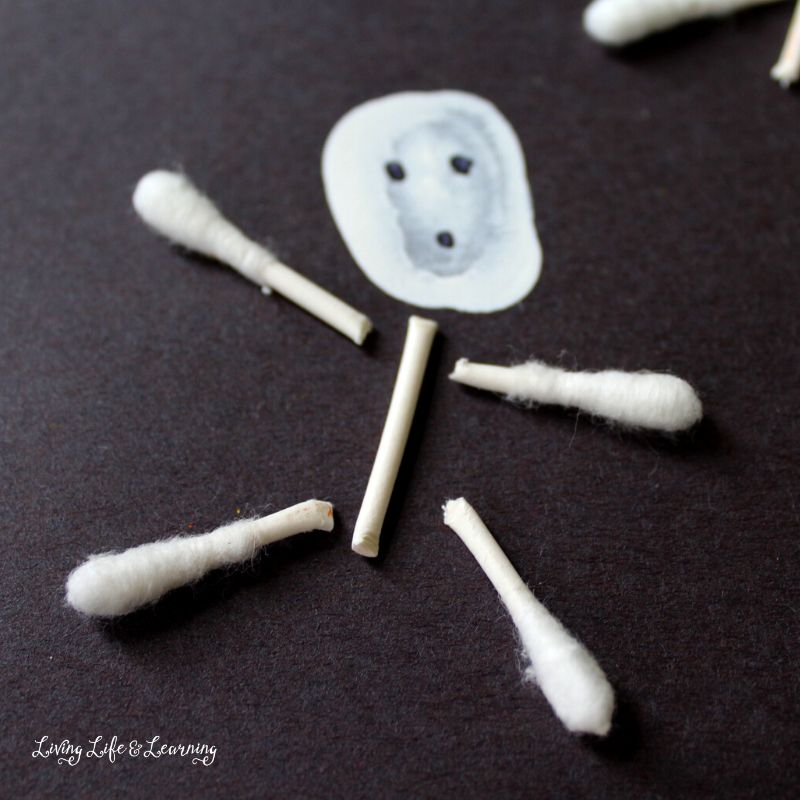
Your skeletons are ready to display once the glue and paint have dried.
What Should Children Observe?
Ask your child to look at the shape of the skeleton as they build it.
Where is the head compared with the rest of the body? Where should the arms and legs go? How are the skeletons different when different people use their thumbprints?
You can also compare the craft with a picture or model of a human skeleton and talk about how a real skeleton has many more bones than the craft shows.
Why Does This Skeleton Craft Work for a Human Body Lesson?
The craft gives children a simple visual representation of a skeleton that they can build themselves.
It can introduce a conversation about how bones are arranged inside the body without turning the activity into a complicated anatomy lesson.
For more ways to explore the body, try these body activities for kindergarten or human body coloring pages.
How Can You Extend the Skeleton Activity?
Keep the activity going with a few simple ideas:
- Compare the finished craft with a skeleton diagram.
- Ask your child to point to their arms, legs, hands, feet, and head before finding those areas on the skeleton.
- Make several thumbprint skeletons and compare their sizes.
- Try an X-ray handprint craft to explore the bones in the hand.
- Have children move different parts of their bodies and discuss where they can feel bones underneath their skin.
- Create another human body craft to explore a different body system.
More Skeleton Activities
- X-ray Coloring Pages
- X-ray Handprint Craft
- Skeleton Bones Craft
- Skeleton Worksheet for Kindergarten
- Skeleton Craft for Kids
- Skeleton Activities for Kindergarten

Thumbprint Skeleton Craft
Materials
- Black construction paper
- Q-tips
- White craft paint
- Black marker
- Scissors
- Craft glue
Instructions
- Begin by dipping your thumb into white paint. Press it onto the black paper to craft the head of the skeleton. Allow the paint to dry thoroughly. Repeat until you have the number of skeleton heads you wish.
- While the paint dries you can start snipping the q-tips into segments. These will be the bones of your skeletons.
- Add a dab of glue to the back of each and press them to the thumbprints as shown to create the body of the skeletons. You will need about 5 pieces for each body you wish to make.
- Once the bodies are assembled, you can craft the faces of your skeletons. Use a marker to add a simple set of eyes and mouth.
- Your thumbprint skeletons are now ready to be displayed.
Notes
This thumbprint skeleton craft keeps things simple with supplies you may already have at home. Use it for Halloween, add it to a human body lesson, or let your child create a whole collection of tiny skeletons.

Hi, I’m Monique Boutsiv! I’ve been homeschooling for 18 years and have four children ranging from toddler to adult. I create science activities, educational printables and homeschool resources for preschool through elementary-aged children.
Today, Living Life and Learning includes more than 2,500 printable activities and educational resources to help parents and teachers spend less time planning and more time learning.
Follow along for new printable activities