
How to Make a Lung Model


If you’re looking for a creative and educational way to teach your kids how the lungs work, this blog post is just what you need. In “How to Make a Lung Model,” we’ll use basic household supplies to create a hands-on science activity that demonstrates the process of breathing. If you’re exploring the human body, you’ll want to check out my collection of engaging lessons here: Human Body Activities for Kids.
It’s simple enough for elementary-aged kids and offers an excellent visual for understanding a complex part of the human body. We’ve done numerous human body science activities, and this one is always a favorite.
I’ll guide you through each step of creating a balloon lung model, including fun facts, and provide additional resources to extend your learning. Keep reading to grab everything you need.

This post may contain affiliate links meaning I get commissions for purchases made through links in this post. Read my disclosure policy here.
Three Interesting Facts About the Lungs
- Your lungs aren’t the same size — the right lung has three lobes, while the left has two to make room for the heart.
- On average, you breathe about 20,000 times a day.
- Lungs are the only organs that can float on water because they contain air.
Recommended Human Body Books
Books are a great way to dig deeper into how our bodies work. Here are some titles we’ve loved to help make learning about the lungs and other parts of the human body more engaging.
Your Lungs: A Fun Approach to the Respiratory System (Body McCannics: Body Systems)Lungs (Science Readers: A Closer Look)A Journey through the respiratory system (Body system)Inside Out Human Body: Explore the World’s Most Amazing Machine – You! (Inside Out, Chartwell)Pulmonology for Kids: A Fun Picture Book About the Respiratory System for Children (Gift for Kids, Teachers, and Medical Students) (Medical School for Kids)How Does My Body Work? Human Body Book for Kids: STEAM Experiments and Activities for Kids 8-12


Lung Anatomy and Physiology
Before jumping into the activity, it helps to know the basic parts of the lungs and what they do.
- Trachea – The windpipe that connects your mouth and nose to the lungs.
- Bronchi – Two large tubes that branch from the trachea into each lung.
- Bronchioles – Smaller branches of the bronchi that spread throughout the lungs.
- Alveoli – Tiny air sacs where oxygen enters the blood and carbon dioxide is removed.
- Diaphragm – The muscle under your lungs that helps pull air in and push it out.
How do we make learning about lungs exciting?
Kids learn best when they can see and touch the things they’re learning about. That’s why I always include hands-on activities in our science studies. When we built this lung model, my son asked numerous questions and grasped the function of the diaphragm.
It doesn’t have to be complicated. We used a few balloons, a plastic cup, and a straw — and suddenly, we had a moving model of the respiratory system. It made science time way more fun and memorable.
Recommended Human Body Printable Packs
Explore my Human Body Printable Packs for engaging activities that keep kids interested. They’re filled with worksheets and visuals that complement your science lessons well.


What Can Kids Learn from This Activity?
Making a lung model is more than just crafting. Here’s what your child can pick up:
- Understand respiratory function – They’ll see how the lungs expand and contract.
- Basic anatomy – Kids learn the names and purposes of parts like the diaphragm and alveoli.
- Following instructions – This project requires steps to be taken in a specific order, making it great for practicing sequencing.
Recommended Human Body Kits
Seeking ready-made tools to teach about the human body? Human body kits are an excellent way to bring science lessons to life with engaging and tactile learning materials.
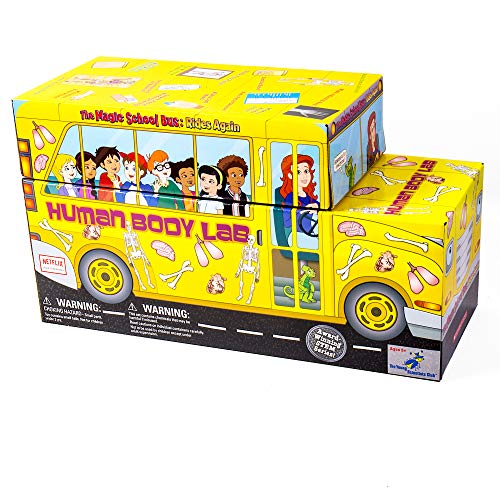
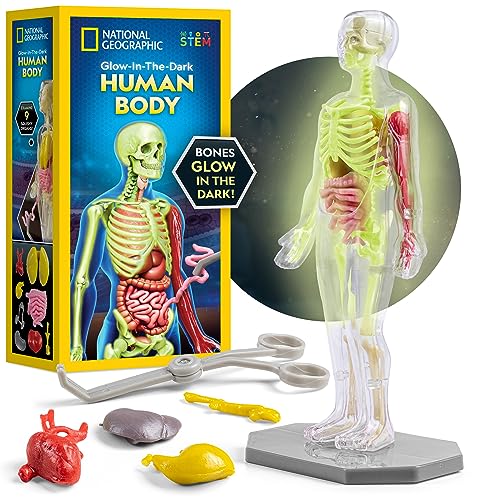
Human Body Model for Kids, Fully Transparent Body, 29 Piece Anatomy Figure 3D Anatomy Kit – Removable Organs, Bones STEM Toy for Ages 6+The Young Scientists Club The Magic School Bus: Human Body LabThames & Kosmos Gross Anatomy: Make-Your-Own Squishy Human Body STEM Experiment Kit | Make Colorful Models of Human Organs with Slime & Putty | Fun, Tactile Intro to Human Anatomy | 5 Cool ActivitiesNational Geographic Human Body Model for Kids That Glows in The Dark – 32-Piece Interactive Anatomy Model with Bones, Organs, Muscles, Science Kit Stocking Stuffer, Anatomy & Physiology Study ToolsKids First The Human Body KitAbacus Brands Bill Nye’s Science Squad: Body Lab VR – Virtual Reality Kids Science Kit, Book and Interactive Learning Activity Set – for Ages 8 and Up


DIY Lung Model Activity Supplies
- Clear plastic cup
- Scissors
- Plastic straw
- Balloons
- Tape
How to make a simple balloon lung model?
We first gathered our materials during one of our rainy-day science blocks. My older two children cut the balloons, while the other one helped stretch them over the cups.
My toddler watched from the highchair, fascinated. We discussed how the diaphragm functions like a pump, helping the lungs inflate and deflate.

Pulling on the balloon at the bottom was a hit — they were amazed to see the “lungs” move. It was a simple way to explain a complex concept, and it became one of our most memorable science moments.

More Human Body Activities to Try
Keep the curiosity going with more hands-on ways to explore how the body works. These engaging activities are perfect for helping kids connect what they learn to the world around them.
- Body Parts Activities For Preschool
- Blood Model in a Bottle
- Human Body Puzzles
- Human Body Organs Worksheet by Homeschool of 1
- Human Body Bingo Cards by Darcy and Brian

How to Make a Lung Model
Materials
- 1 clear plastic cup
- Scissors
- Plastic straw
- 3 balloons
- Tape
Instructions
- Bend the straw and cut off the small corner pieces.
- Cut the necks off two balloons.
- Tape the balloons to each end of the straw to create lungs.
- Carefully poke a hole in the bottom of the plastic cup (adult help needed).
- Insert the straw so the balloons are inside the cup.
- Cut the third balloon in half and stretch it over the top of the cup — this is the diaphragm.
- Tape the balloon to the cup to secure it.
- Gently pull and release the bottom balloon to see how lungs work.
Video
Science doesn’t have to be intimidating. Projects like these make complex systems feel doable for both kids and parents. I hope this lung model provides a great way to bring learning to life, just as it has for us.